

Pergola Power
Small project, granular detail

I haven’t been in my shop for months. (Which means we’ve sadly been forced to heat our sauna with wood scraps from friends’ projects.) No work at the land either. Just writing and related book work.
I really miss making stuff and so as I’ve eased off the book-throttle I’ve been looking for something to build. On the short list was replacing the front yard pergola we inherited. Two years ago Tom and I replaced the planter beds. Last year I replaced the benches and table. And ever since I’ve eyed a new shade structure—one that could support a hammock between it and the garage. Last week that pergola was my welcome return to building something.


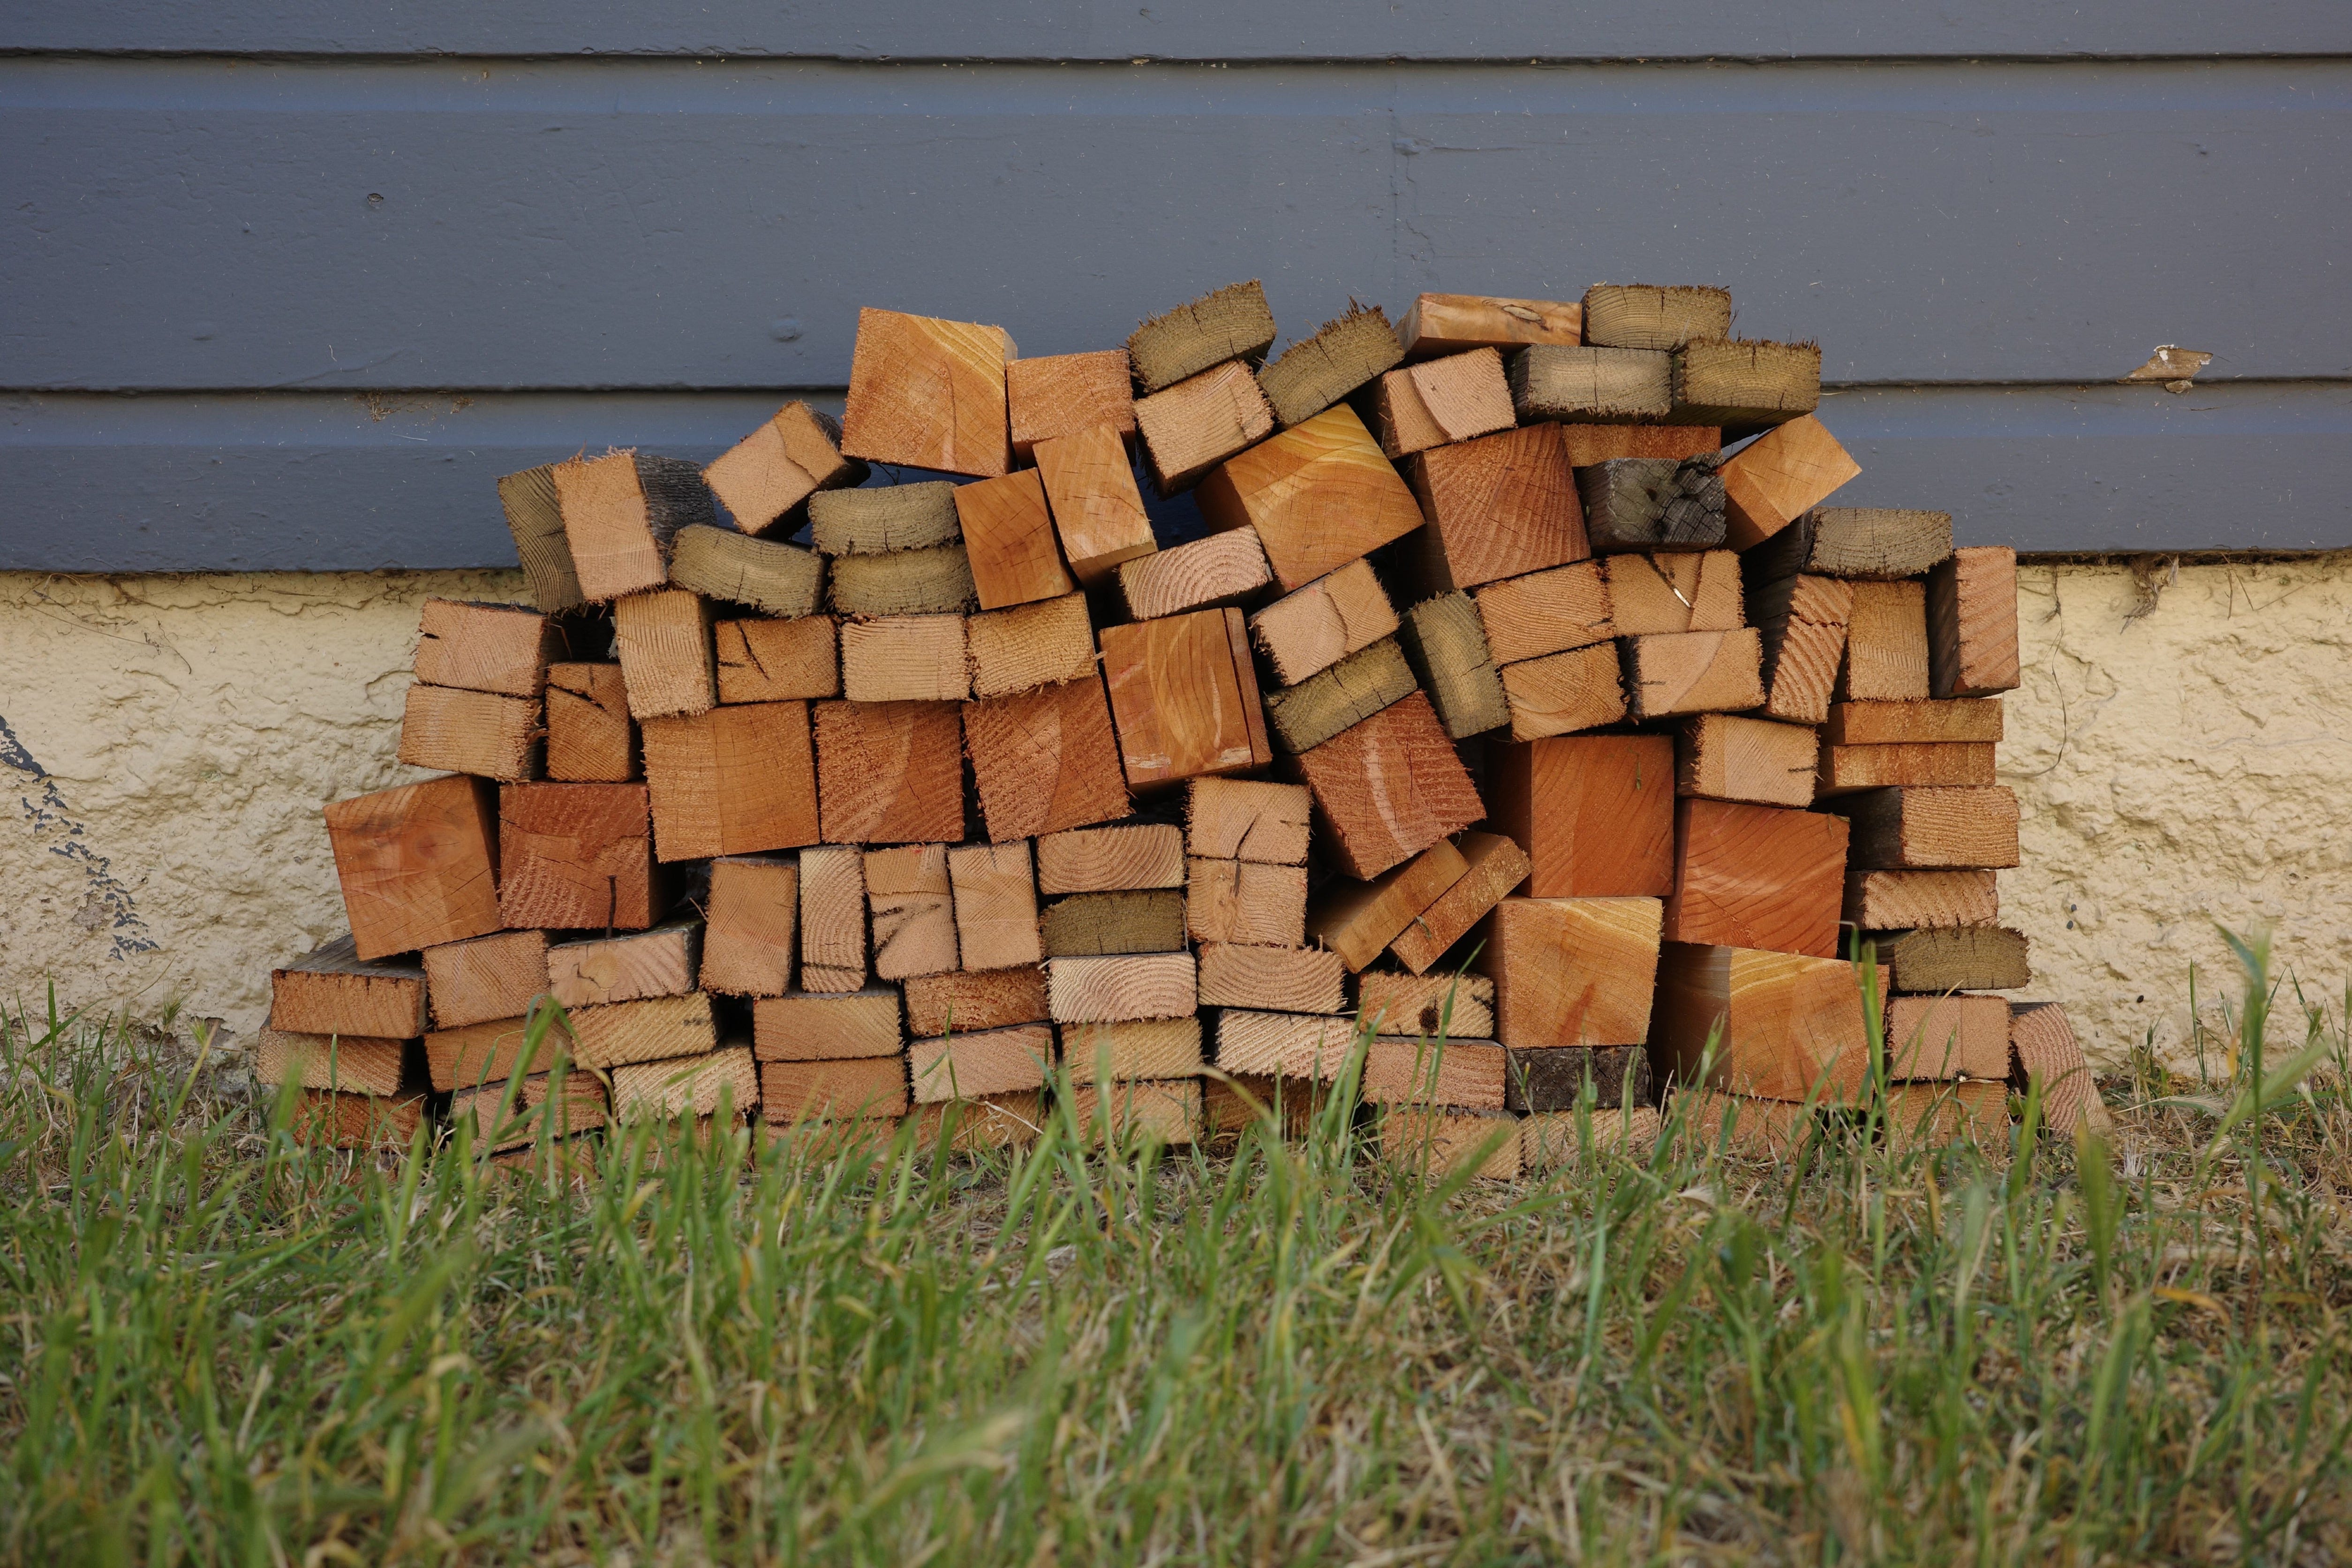
The original structure had a nice shape with a low roof and extended an appropriate distance. I figured, if it’s not broke, barely fix it. Redwood seemed like an ideal material, but better if it was rough sawn with square edges, and maybe irregularly sized from store-bought dimensional lumber—the language of lumberyard wood is just a little too familiar. So I ordered redwood from a local mill at 2x6.5 inches and 3.5x4 inches.
Replicating the pergola meant hanging it off the garage, which necessitated a secure ledger board. I ripped one to 4 inches and fastened it with ten galvanized lag screws into studs.
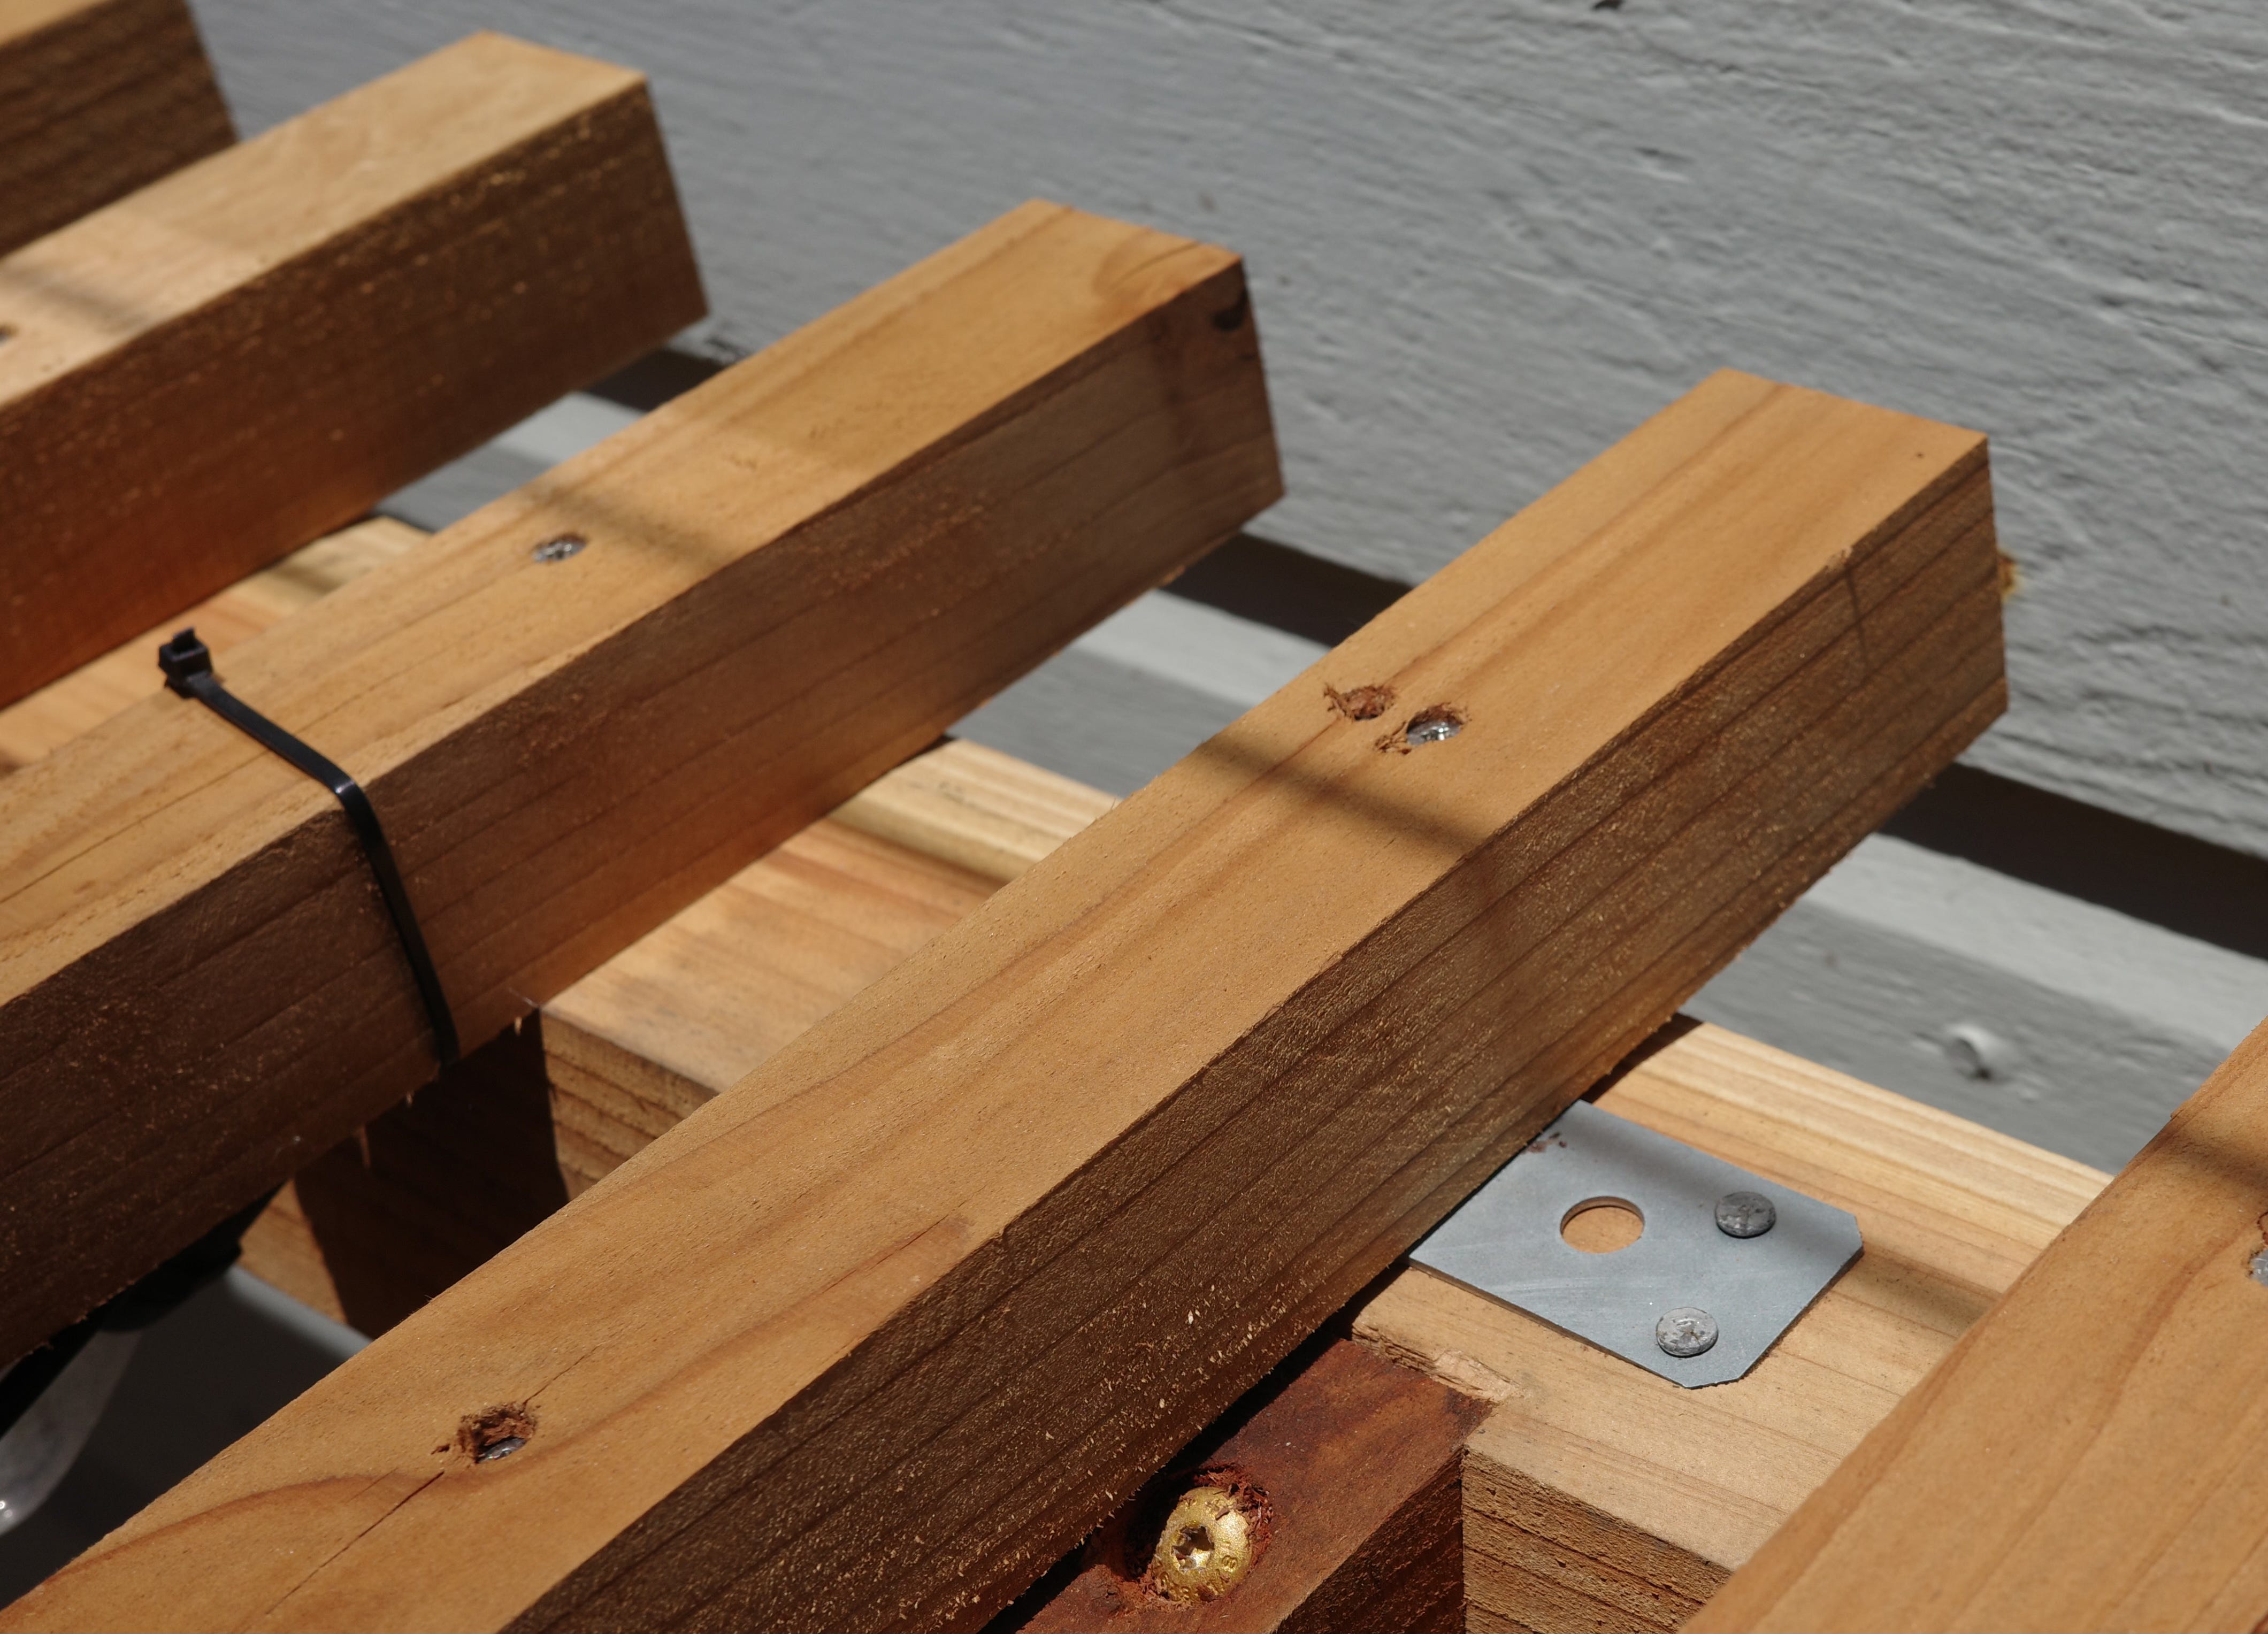
Hanging the beams off the ledger required a sturdy cradle. I’d sized them at 3.5 inches to fit off-the-shelf beam hangers and found a decorative set I liked. The screws they came with were garbage and our coastal air is pretty corrosive, so I mounted those hangers with stainless GRK screws.

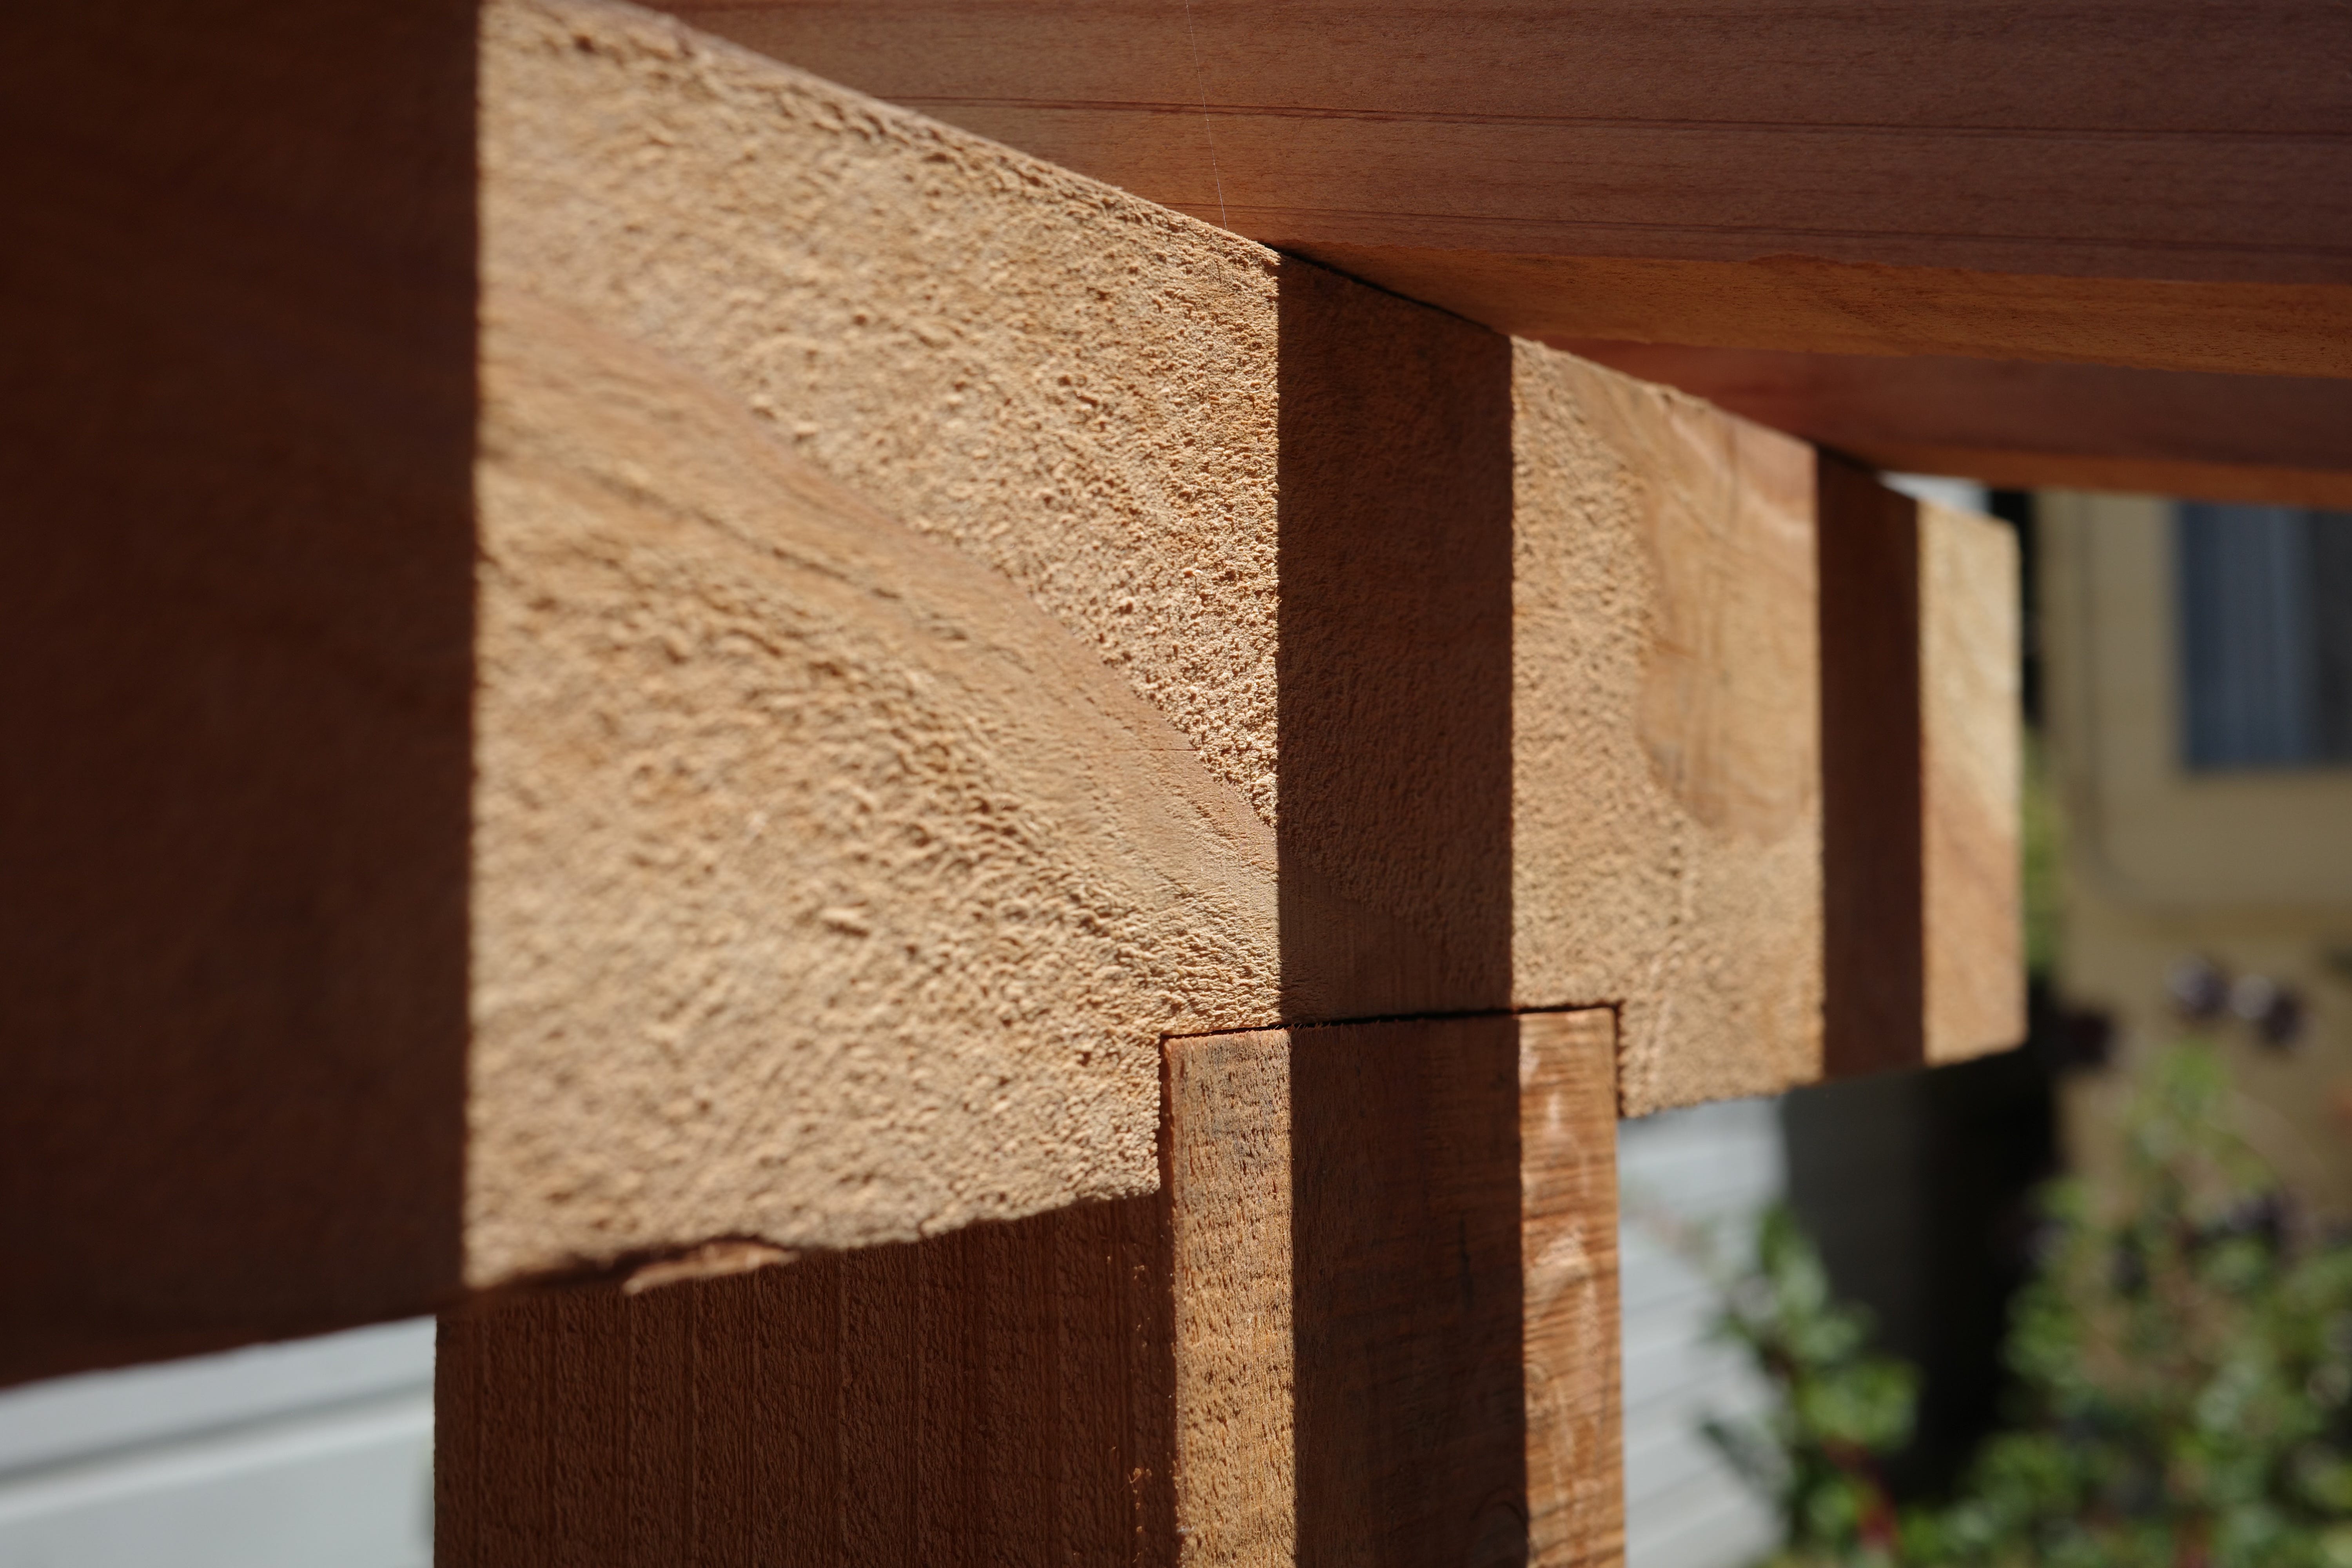
The top of the beams got beveled on the table saw (part of the reason for the 4 inches of height) and I carved a 1/2” pocket for the post to notch into. Without that pocket any lateral stress (and with hammocks there is a surprising amount of force) would be placed entirely on the hardware (or a tenon if using joinery) and that’s not ideal.
Once I knew where the posts were landing I drove in helical piers. First time using them. This is a VERY lightweight structure so it didn’t need much footing, but again with the force of the hammock I needed the post to resist lateral forces. These beefy galvanized anchors drove easily into the sandy soil and are well connected with 8 screws in each.

The post-to-beam connection could have been done a few ways. Mortise and tenon would have been classy. Decorative post and beam hardware may have been acceptable. But I preferred a cleaner look… though also low effort. So I drove some 5/8” galvanized lag bolts in from the top, into augured holes. This is similar to what a mortise and tenon connection would have accomplished, but here my “tenon” is roughly an inch of steel.
Those post+beam pairs were to be joined by another 3.5x4 timber. Here too the question was “How do I make the connection?” The angle ruled out most store-bought beam hangers. So I cut 1/2’’ pockets into the beams and the top of the posts for this cross beam to nest into. But… mistakes were made. I was moving fast and forgot that the length of the cut face would change because it was angled AND the heights of the beams also varied because I had ripped angles onto their tops. So I had to cut a notch on one side of my cross beam where it was too tall, and then glue a piece of wood into the gap on the opposing side where the face was too short.


Now the cross beam was supported (rather than just hanging on hardware), but how then to create a strong connection that won’t just pull apart and allow it to fall? I couldn’t just toenail in a few screws—though I did to briefly hold it in place. Those aren’t a permanent solution—especially if I was screwing into the crossbeam’s end grain from the outside as that sort of connection is prone to loosen over time.
There’s some speciality hidden hardware for this job. Or dovetail joinery. But since no one would ever see the top of the pergola and that left me somewhere to hide the sins of my laziness, I just nailed down some galvanized T-straps. And just in case any tall friends came by who might catch a glimpse of metal, I carved a shallow pocket for the lower strap to tuck it away.
The bones were up, but the structure was still wobbly. We’ve talked about triangles before and how they’re essential to rigidity. My hammock would be angled from the post to the garage, which meant there was not just the hanging weight on the post and a lateral force on the beam toward the garage, but a sideways force that would cause the pergola to twist. No good.
To address rigidity I ripped a couple of 3-inch diagonal braces from my 2x6.5. Why not 3.5 inches to match the ledger board and the cross beam that they’d meet? Intentional offset.
These I didn’t attach in any clever way. They wouldn’t be supporting the slats too much. I mostly needed them to create tight triangles that would resist compression and just not fall out. So I drove angled GRK lags in from the top through countersunk pockets. Plus a handful of GRK stainless framing screws for good measure. Now we were getting places. Triangles!
Next I ripped all the remaining wood down to 2-inch slats. (Or rafters if you prefer.) True 2x2 isn’t an off-the-shelf size and the square profile of the beams and slats has a Japanese tilt to it. I liked that. Maybe because I’ve been falling asleep to Japanese carpentry videos as of late.
I had figured out a 4-inch spacing I liked in SketchUp and after mocking it up in real life to make sure the theory held, I laid out all the slats to cut one end square before install. When installing I used a block to keep the spacing and rear overhang consistent and each slat got screwed into the beams and diagonal bracing. Once they were all up I snapped a chalk line along the front and cut them flush with the circular saw. They had to be cut a little shorter than I would have liked—I should’ve ordered slightly longer wood, but it’ll do. Why didn’t I cut them to length ahead of time? I’ve cut plenty of rafters and deck boards and they NEVER end up in a straight line when cut independently. It pays to snap a line.


Now there was a structure. I gave it a wiggle. Didn’t budge. If you were to draw a connection between each rafter screw and along beams and braces there are 75 individual triangles resisting that shear force. Good stuff. Plenty to hold a hammock and more than enough to keep out some sun.

Finally, I mounted a rock climbing wall anchor with a stainless lag bolt to the post and then beefed up the exposed framing inside the garage to mount one there as well.
I expect I may need to replace the post’s shorter lag bolt with a through-bolt if it loosens over time, but for the moment it’s rock solid. And I made sure of that fact by spending most of this past week stretched out in my hammock, enjoying the warmth of the dappled sun.
ARTIST RESIDENCY, FALL 2026
Applications are open for the Fall 2026 residency and close May 30th. Here’s some details and where you can apply.
DIRECT TO YOUR INBOX
NEW TO THE NEWSLETTER? TO BUILDING?
Start with these posts on Project Planning and Construction Basics.
Or these posts on Community Building.
Or browse. Posts wander from friendship, to workshops, to tools, to explosives. Because we contain multitudes.
When I saw this on instagram I was trying to figure out how you connected the cross beam, now it makes sense! I have a similar project on our place… a 14x35 lean-to off the side of the house. A friend milled up some 6x6 and 6x8 post/beams and we will birdsmouth some 2x10 rafters on to it. All rough sawn true dimension Doug fir. I’m going to take my first stab at timber framing, well, timber-ish framing. There will be lots of lags, just hidden. Thanks for showing the process!
Did you listen to any music while contructing the pergola?
If so, what do you recall?