

Cutting Corners
A look back on what worked and what didn't

Eight months after a fire euthanized our hard work, we decided to build a new outhouse. And eight months after that—in January 2022—a micro A-frame.
The bathroom felt essential, the A-frame was useful, but largely for funsies. Both reflected a post-fire attitude of fuck it, let’s cut some corners and see what happens.
It feels like enough time has passed to reflect on some of those decisions.
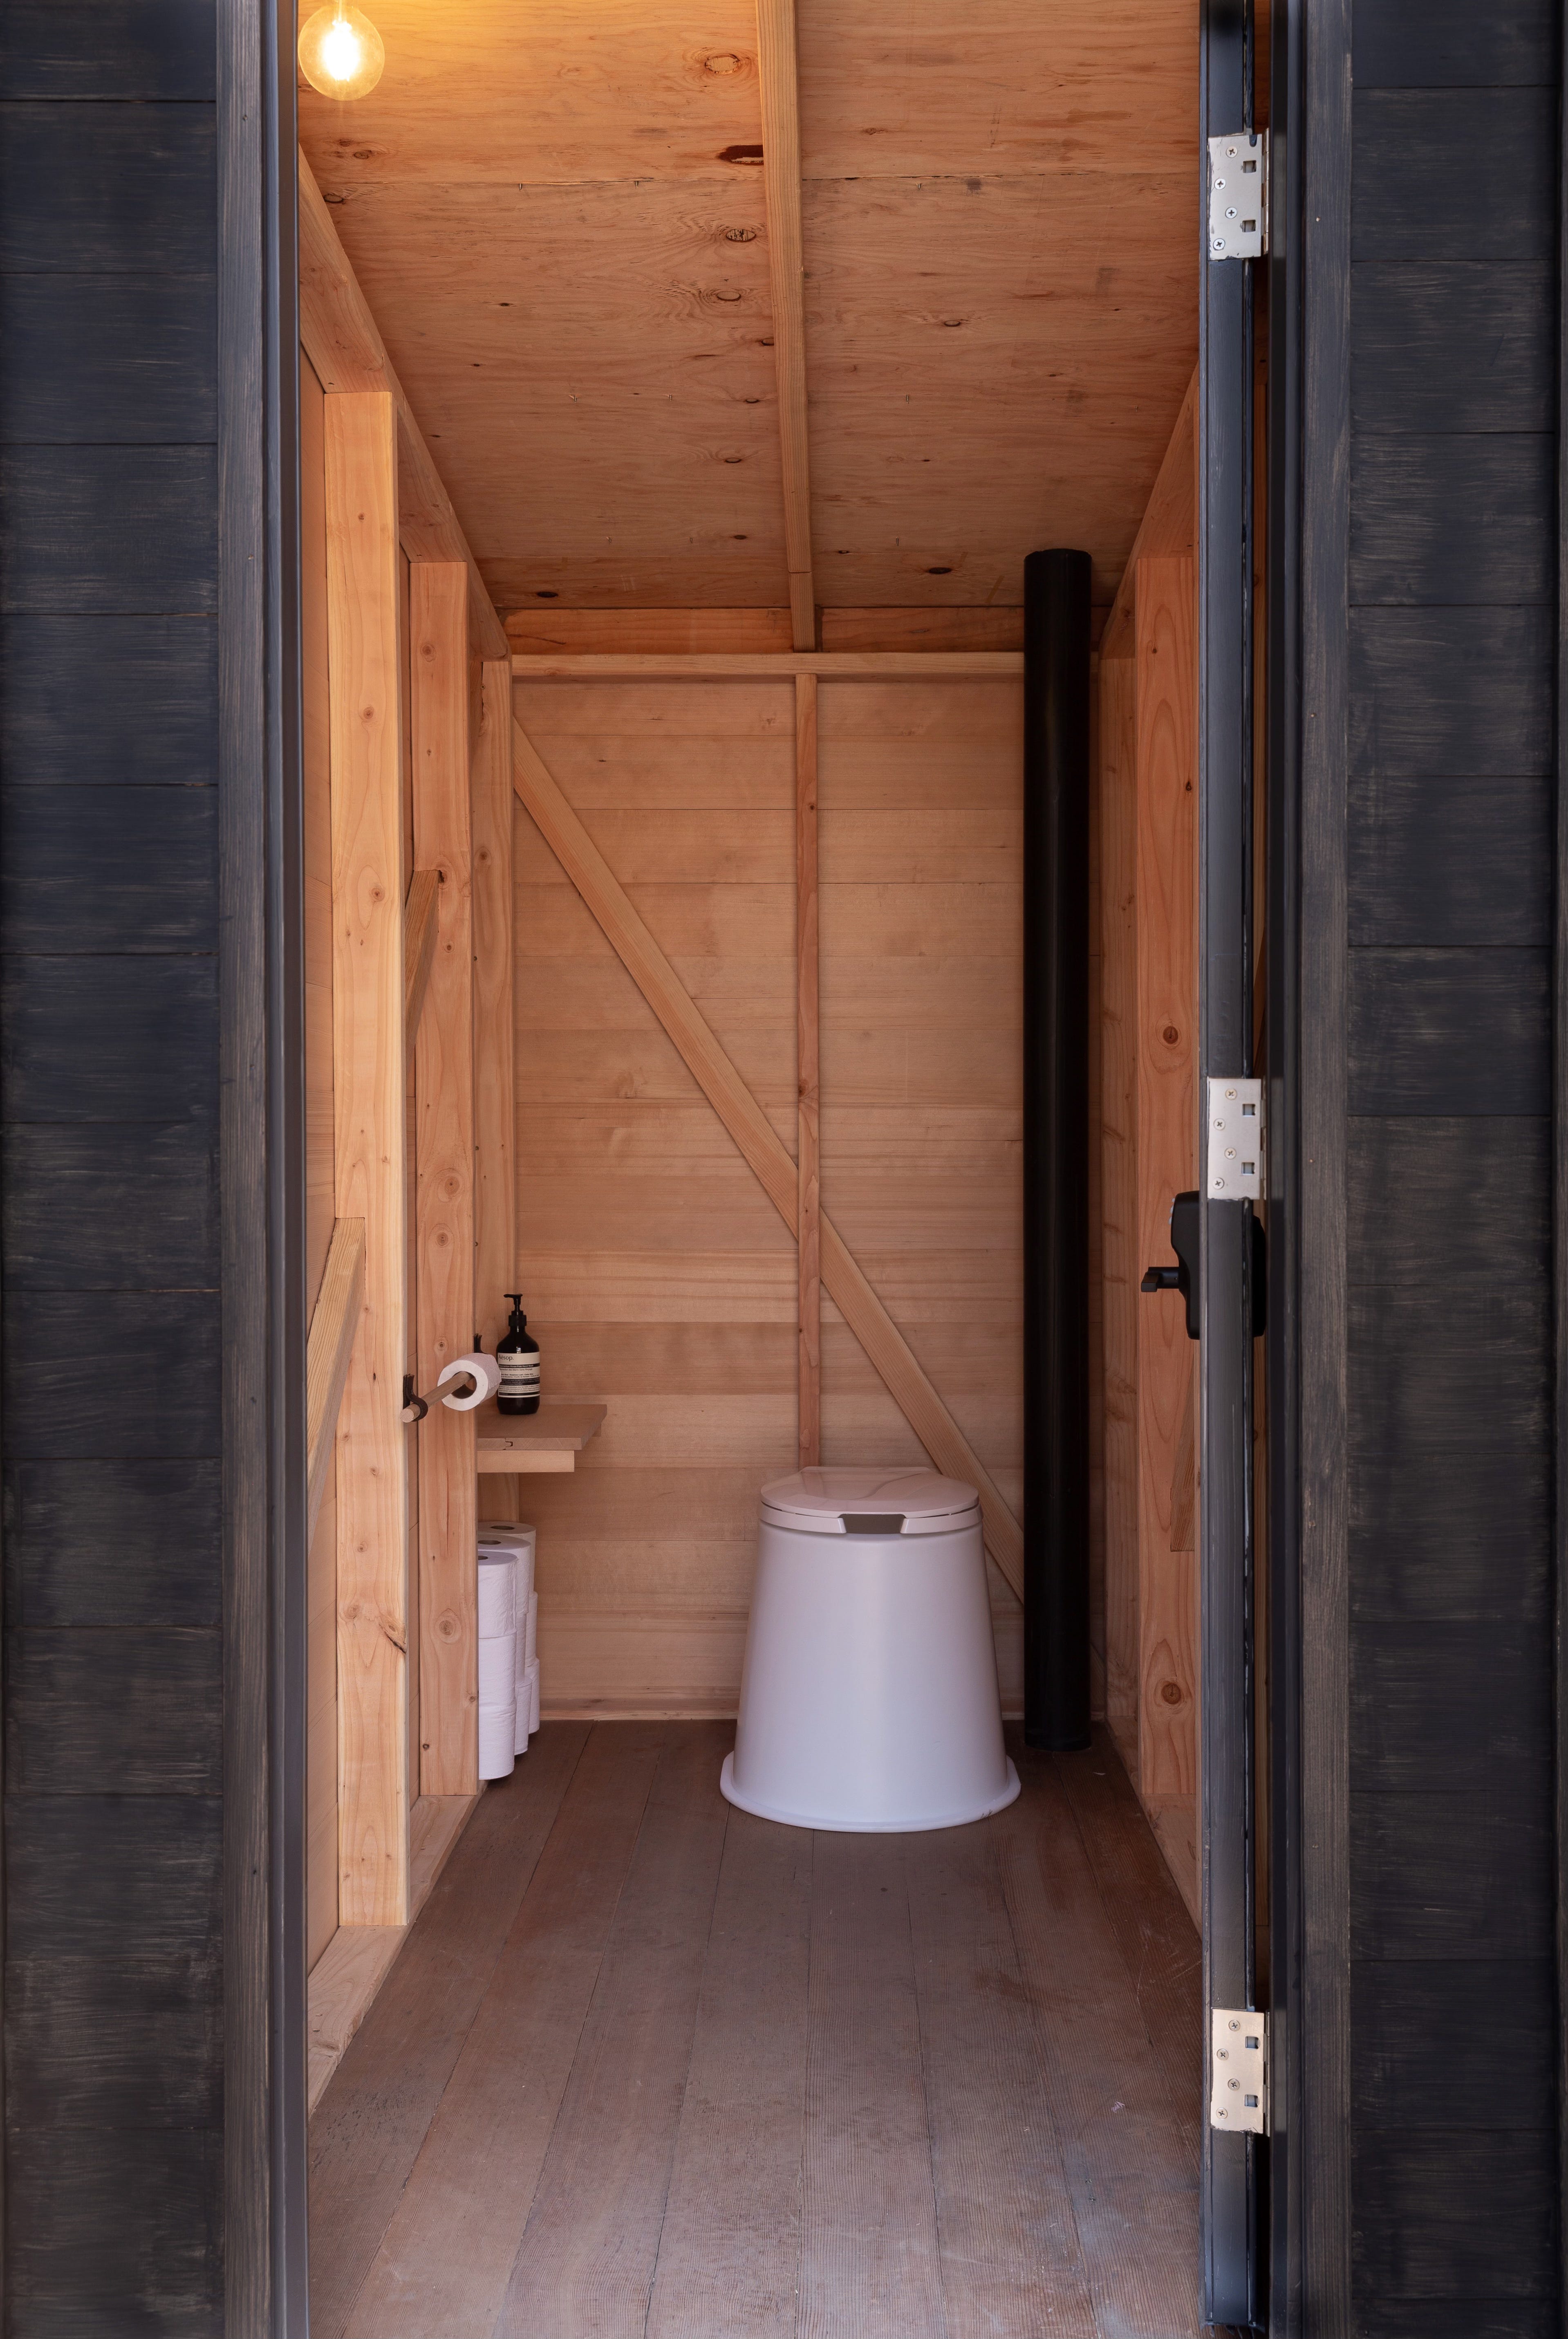
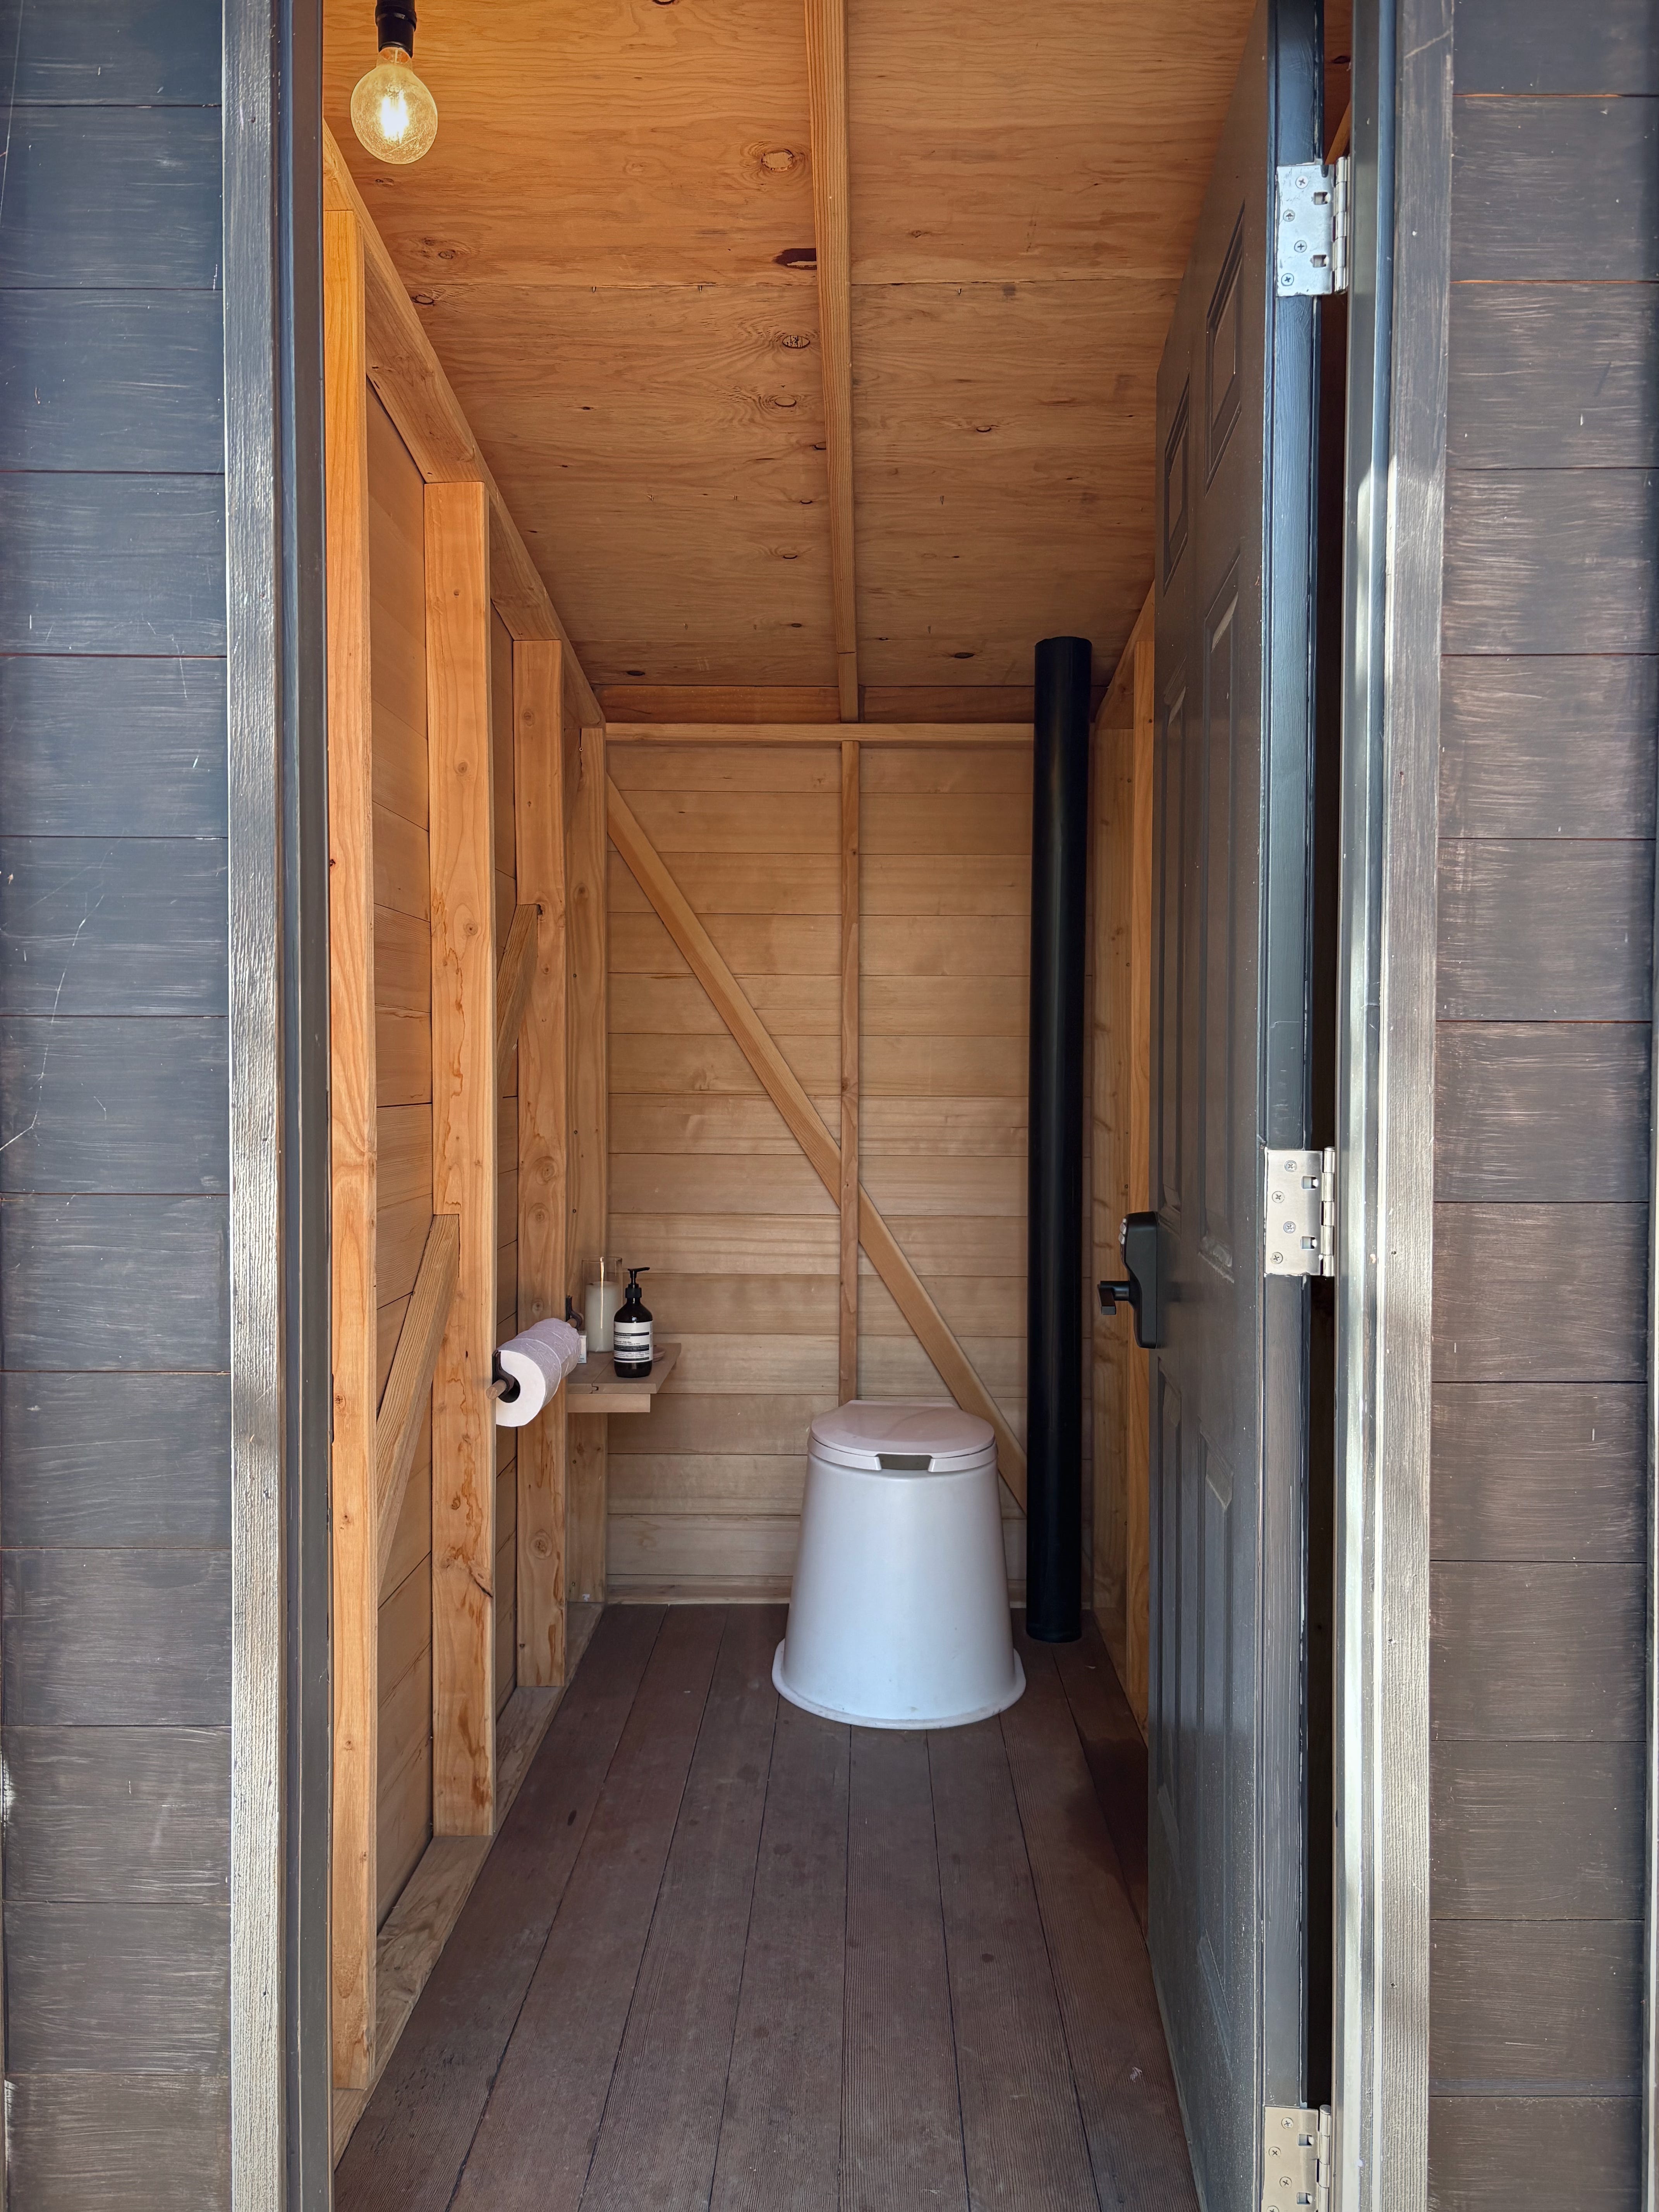
The Outhouse
The outhouse sits on deck blocks, attached to the same galvanized pit-lining of Outhouse 1.0. There’s a single layer of hemlock siding over exposed 2x4 framing with let-in diagonal bracing (because we skipped sheathing.) We used cheap corrugated metal for the roof—the type meant for chicken coops, not houses—and under that is tar paper and plywood. Slats were laid across the rear to give the building a little more of a hefty shape. And the whole thing got a coat of Arborcoat stain, which is not a design decision I stand behind.
How has it fared these nearly five years?
Surprisingly well. The roof hasn’t leaked, though we lack snow, which helps. Some of the exterior trim and rear slats (which were attached with finish nails) have cupped and pulled off the wall a bit and I occasionally add some screws to address the issue. The single layer of siding has performed shockingly well and shows relatively few signs of water intrusion and I have some theories on that.
First, the wood is clear grain. Hardly a knot in sight. Second, the outhouse has eaves—an extremely large one on the prevailing wind side. Lastly, the stain we applied probably provides a minor amount of water resistance—there’s a reason buildings get painted and it’s not just for aesthetics. (Though, so long as wood has ample ability to dry, the occasional wetness generally won’t do much damage.)
I have noticed that if we store toilet paper against the wall on the floor it can wick up moisture. So there’s minor dampness working its way down, though most water seems to shed. The door works well, so it seems the building has remained square. There’s no rot and that’s helped by the air gap underneath—deck blocks are no luxury foundation, but being up off the ground by any means is extremely beneficial. I expect the plywood subfloor might show superficial signs of water seepage near the walls, but we have a layer of salvaged doug fir floor boards that hides it.
All told, I’d plan for more wood movement next time and affix the exterior trim better, especially if it’s unpainted or the eaves are shallow. And I don’t love the design or the black-ish stain and sort of relish the possible opportunity for a do-over with Outhouse 3.0. But otherwise—for an outhouse—I think the minimal build style has worked out quite well.
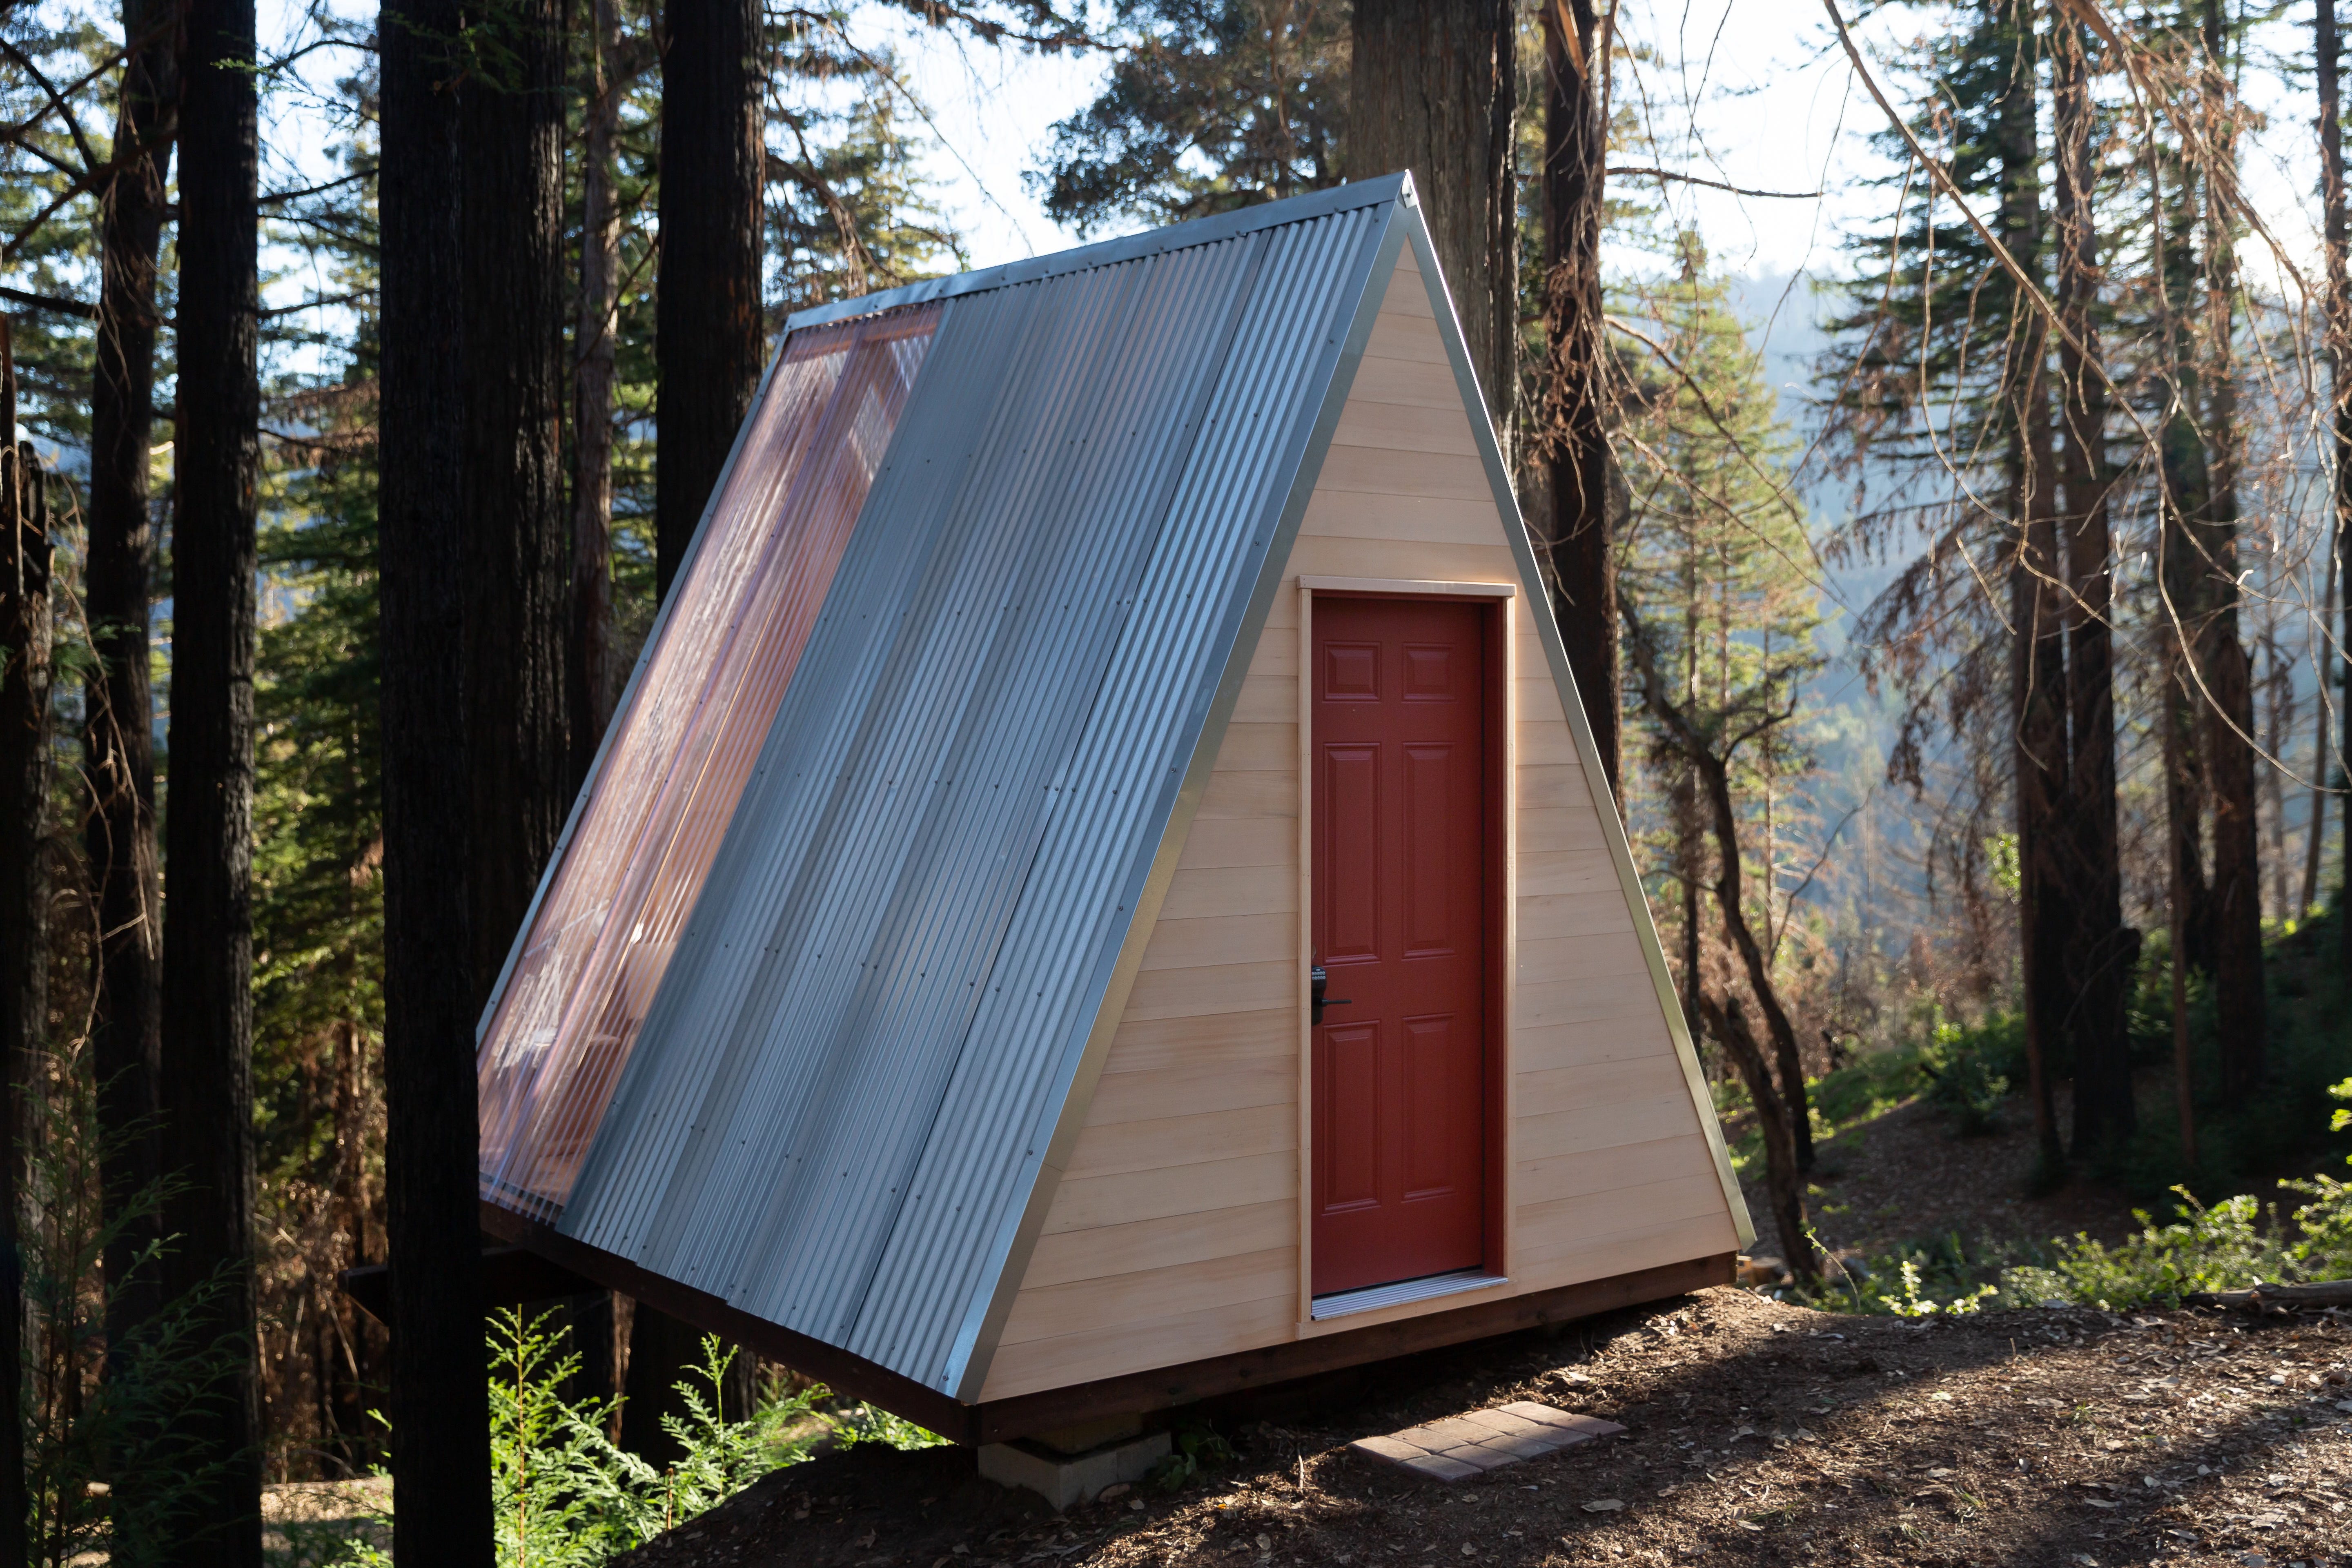
The A-frame
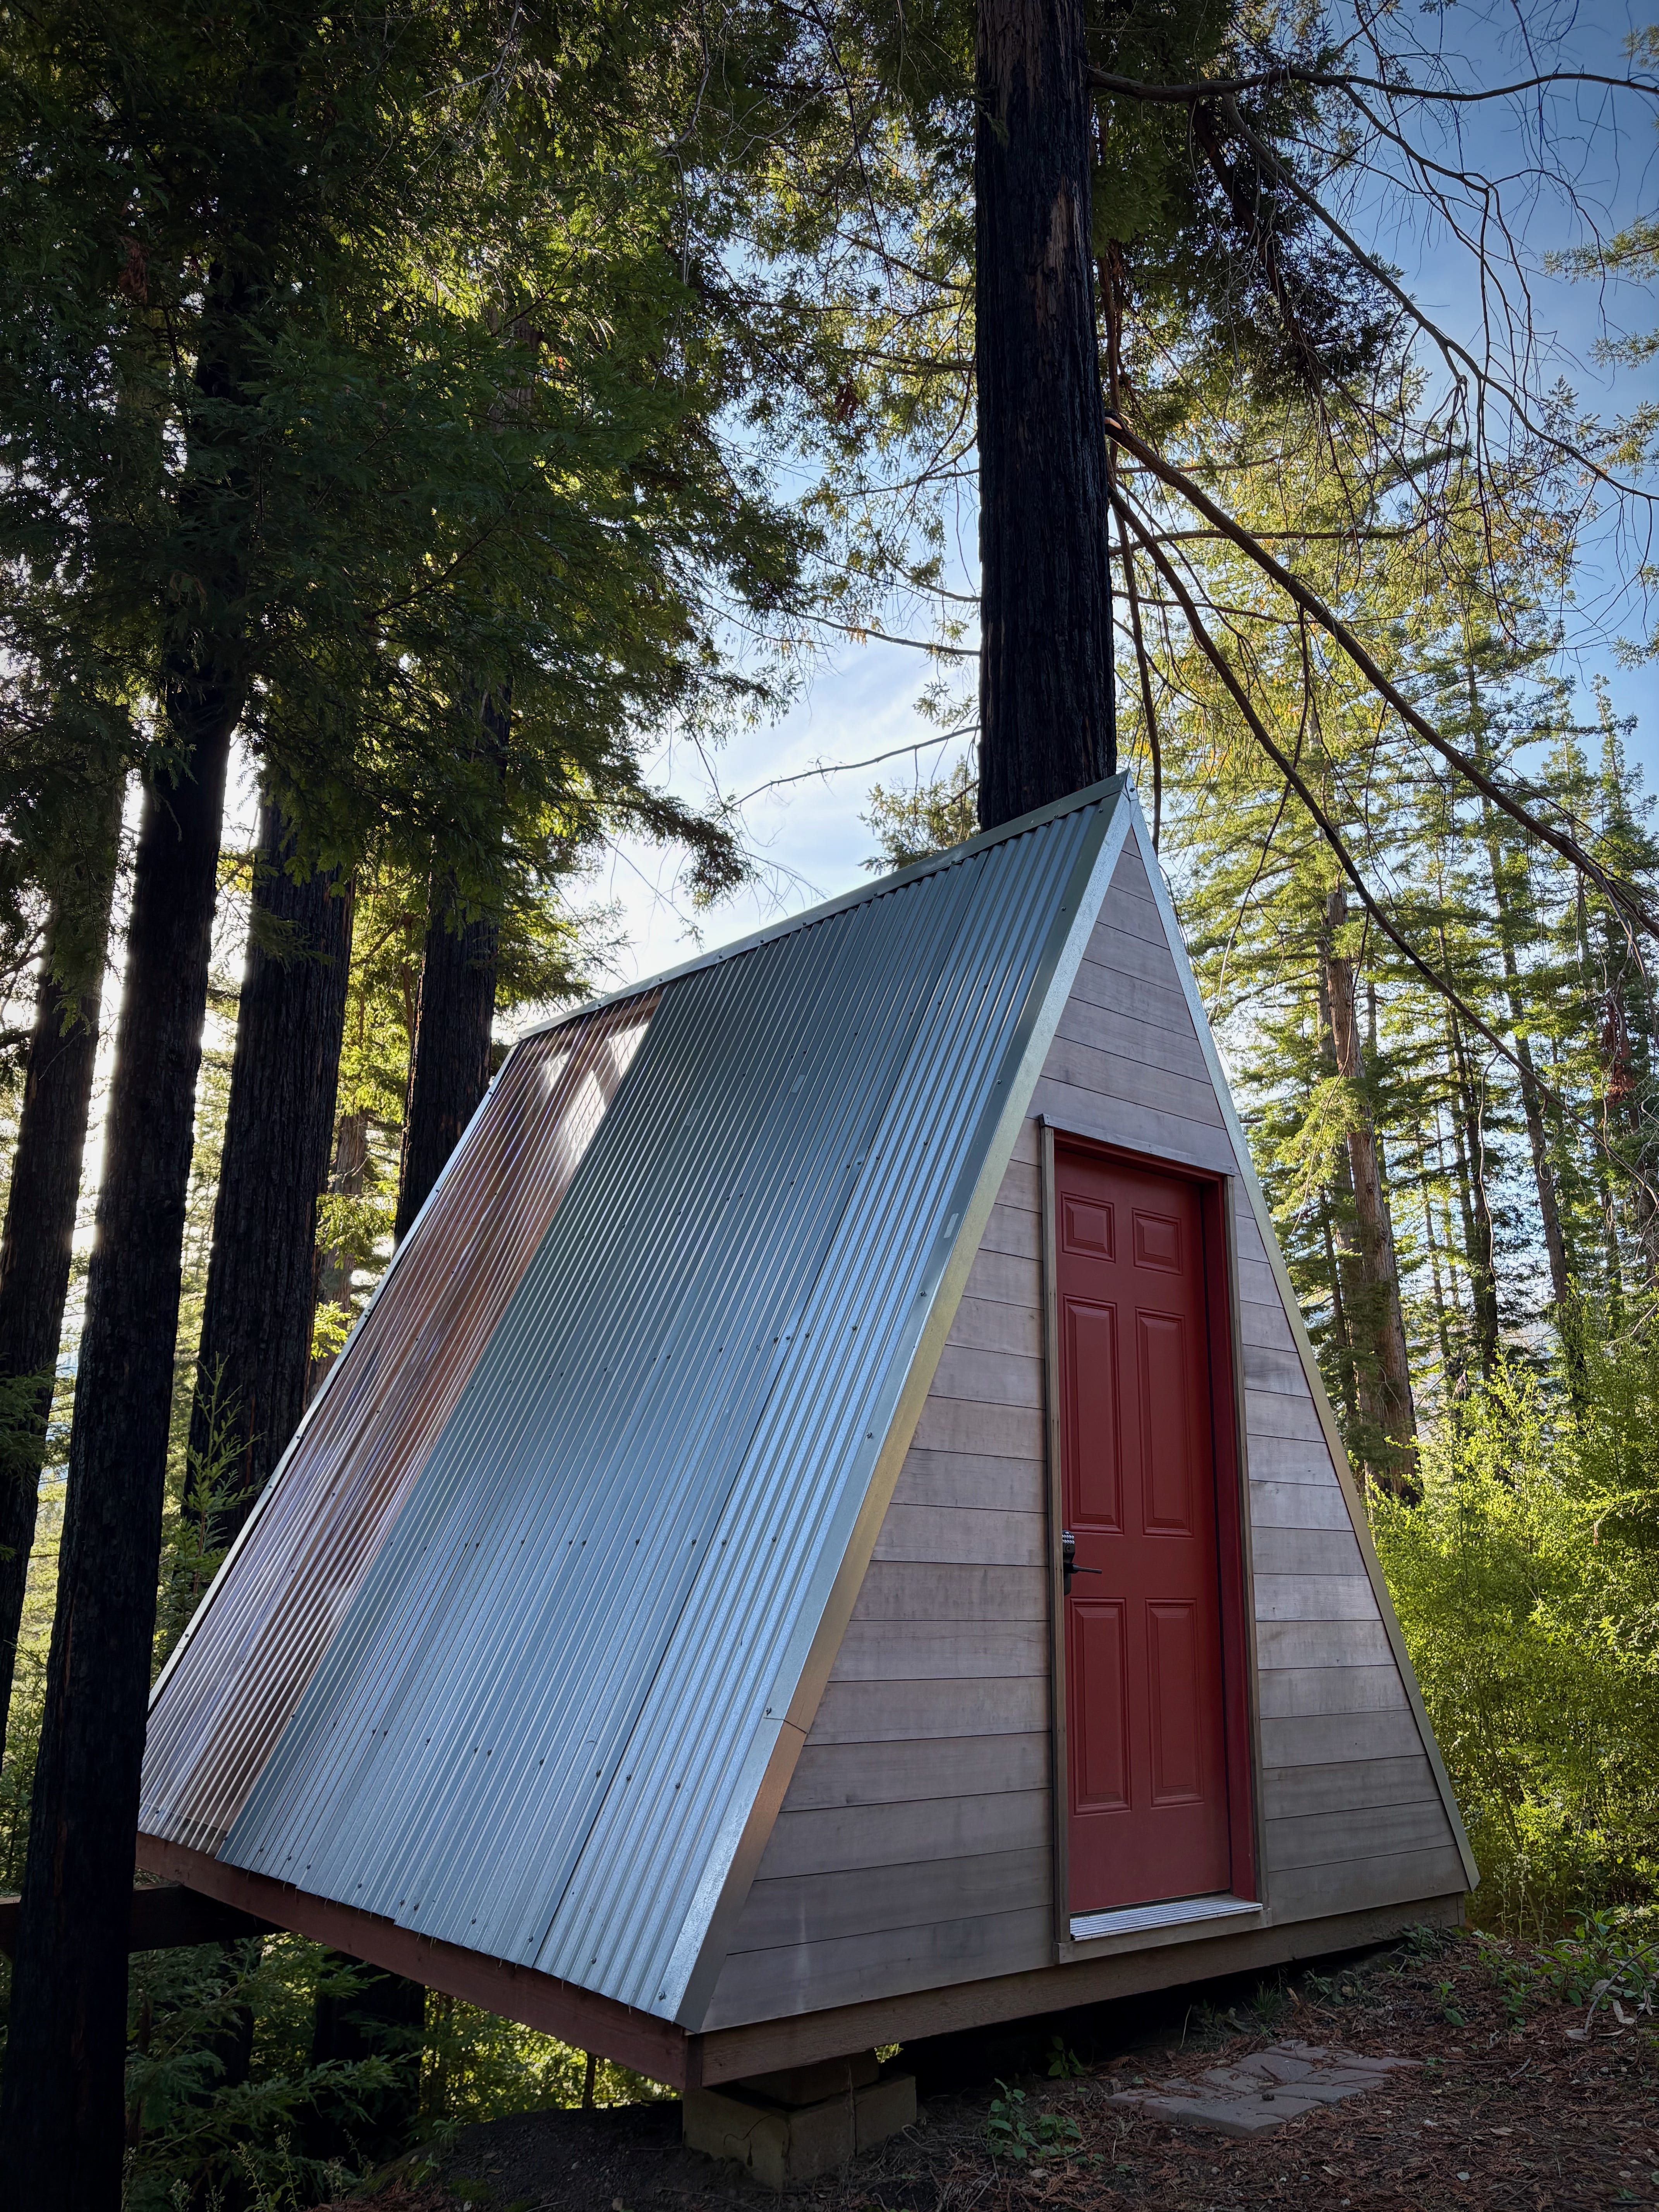
Our micro A-frame was meant to be an extremely cheap and efficient build. Basically a hard-walled tent. Plywood and thin metal roof panels (plus four panels of clear polycarbonate) over a 2x4 frame with a single layer of hemlock siding. Similar to the outhouse, but no eaves, no stain, and only the plywood subfloor underfoot. The front end rests on blocks and the rear is affixed to a beam hung between two redwoods.
We used real-deal treehouse hardware, but I skimped on the beam. Historically we’ve been pretty diligent about following span tables for beams and joists, even though we were often building lighter structures than they were designed for. But I wanted to actually learn what cutting those corners looked like, so we scaled down to a 4x6.
Turns out it looks like a sagging beam. It’s not in danger of breaking, but I will probably jack it up at some point and either install a larger beam, or attach a steel plate across the existing one.
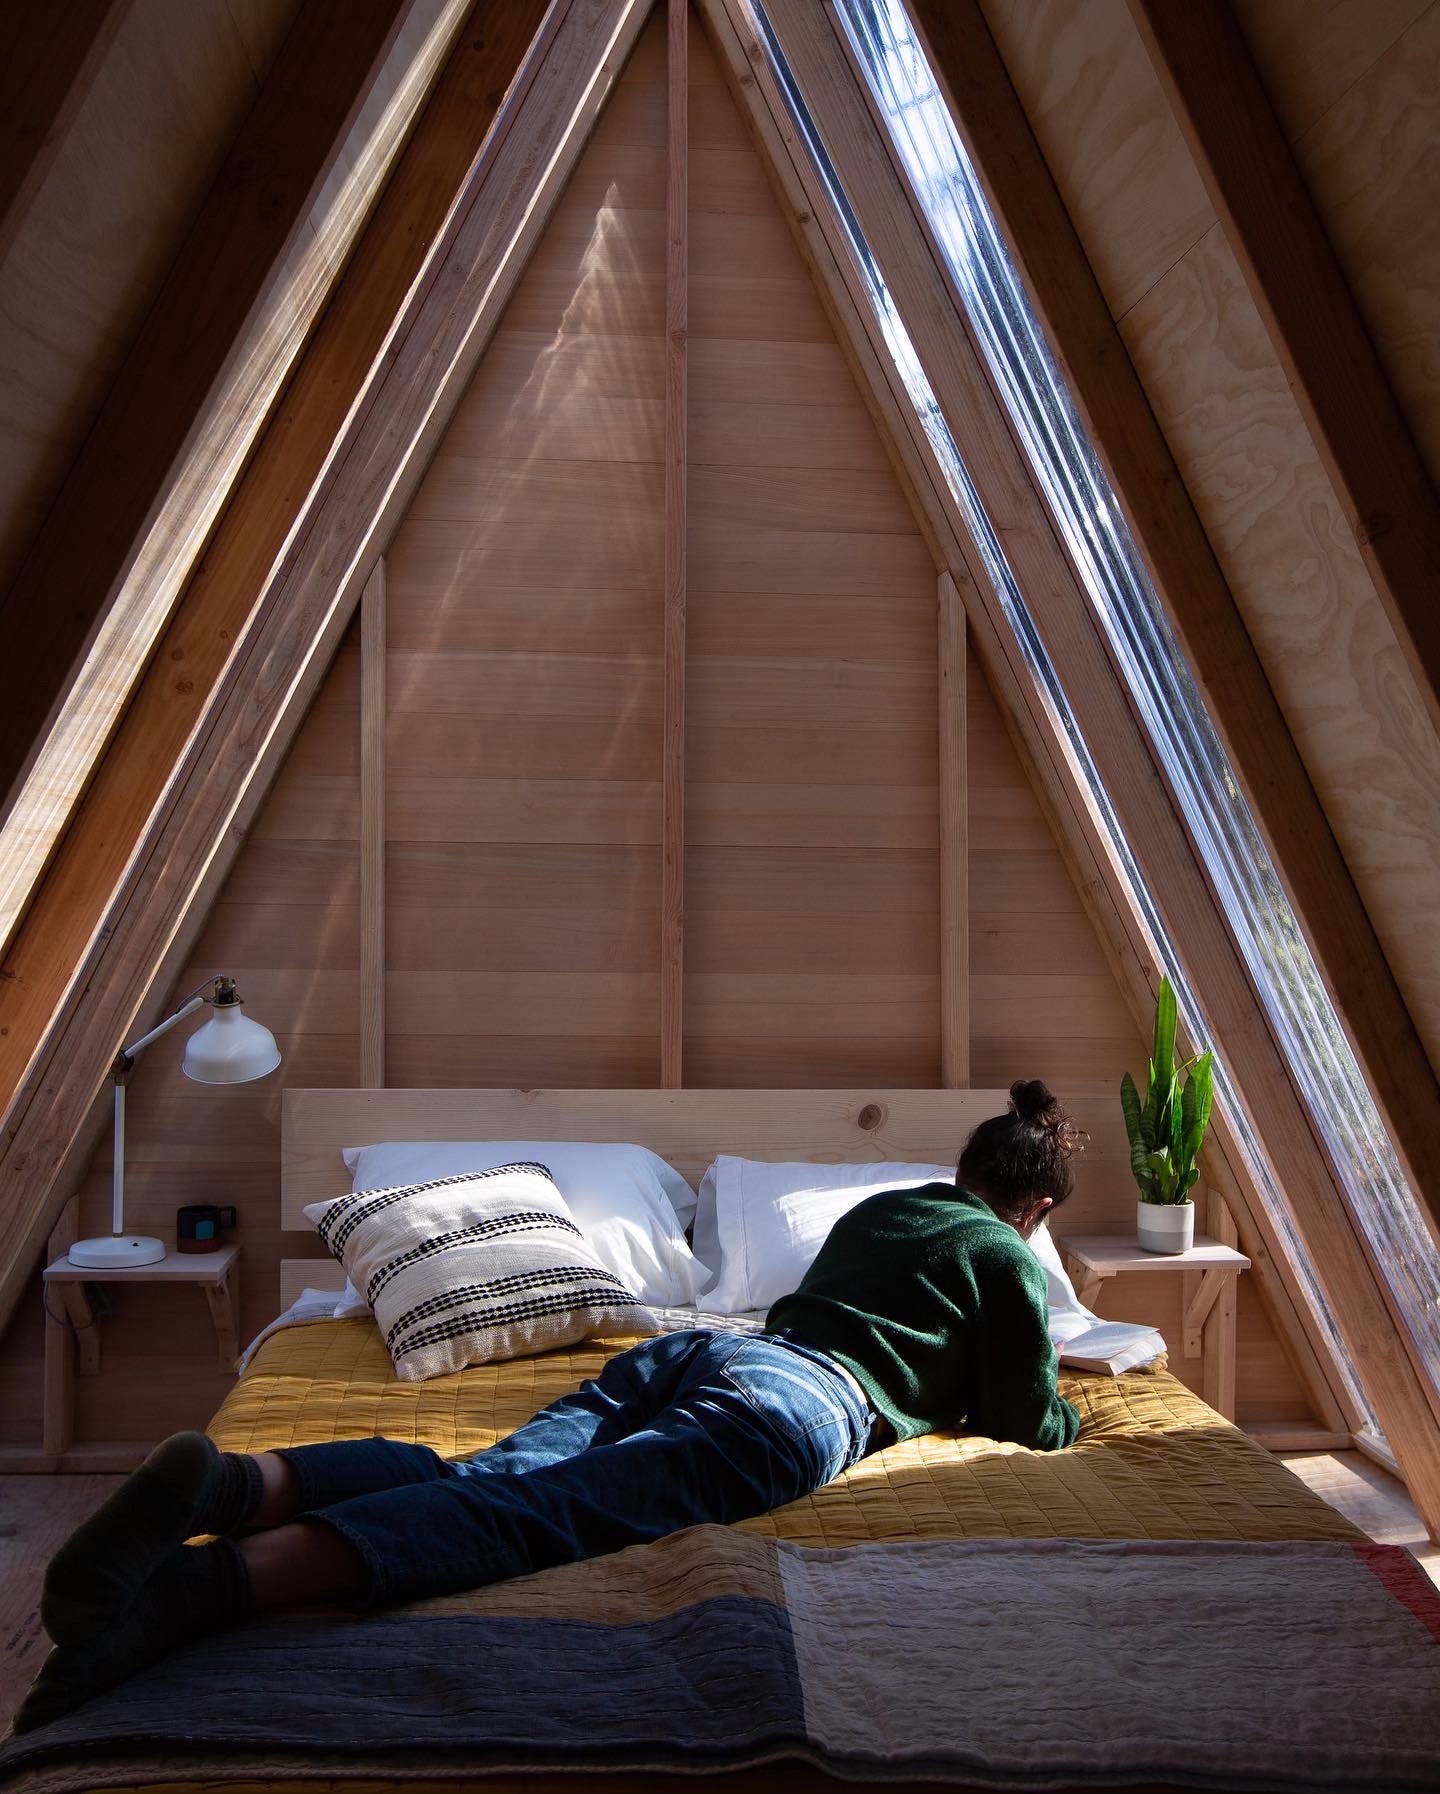
The roofing and plywood have fared well. No leaks. But not much surprise there either… the steep roof pitch sheds water quickly. The polycarbonate panels do have one issue where the sun has caused them to expand and sag. The droop is extra noticeable on hot days. Normally this wouldn’t be much of a problem because they would be supported by horizontal strips of wood (aka “strapping”,) but I wanted to see if we could get by without it for aesthetics. As it happens, I find the aesthetics of the sag worse. Lesson learned.
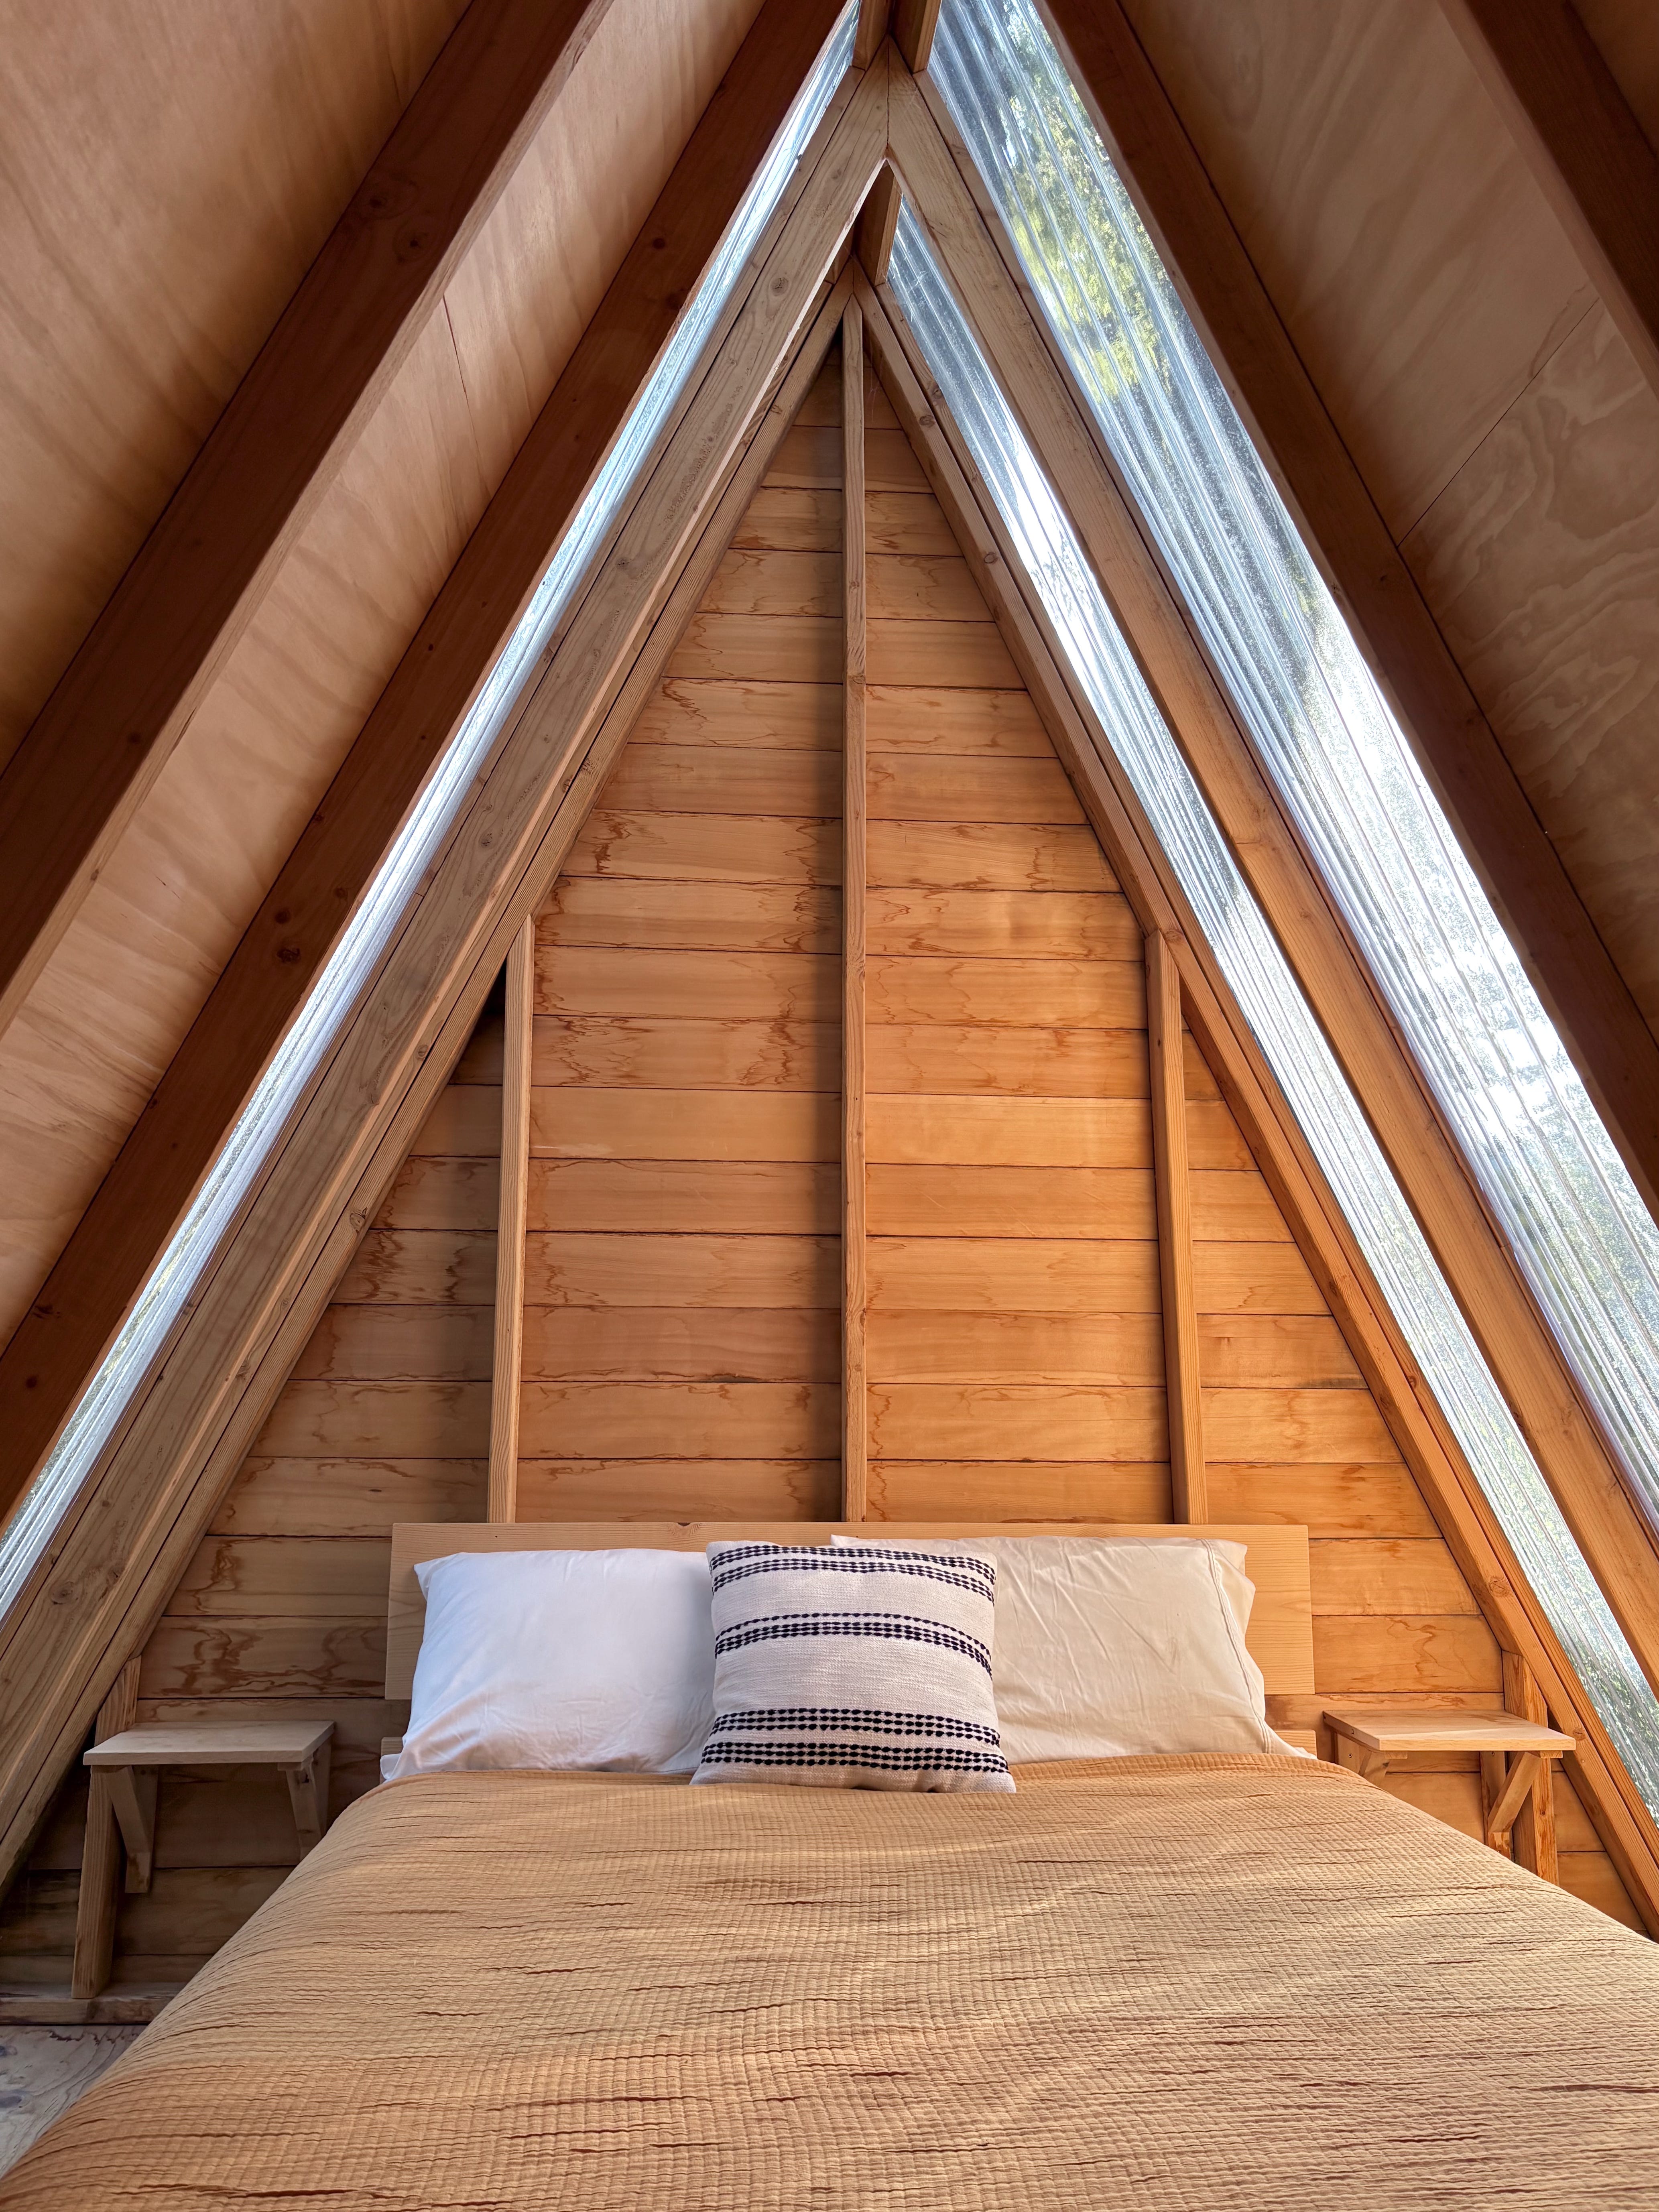
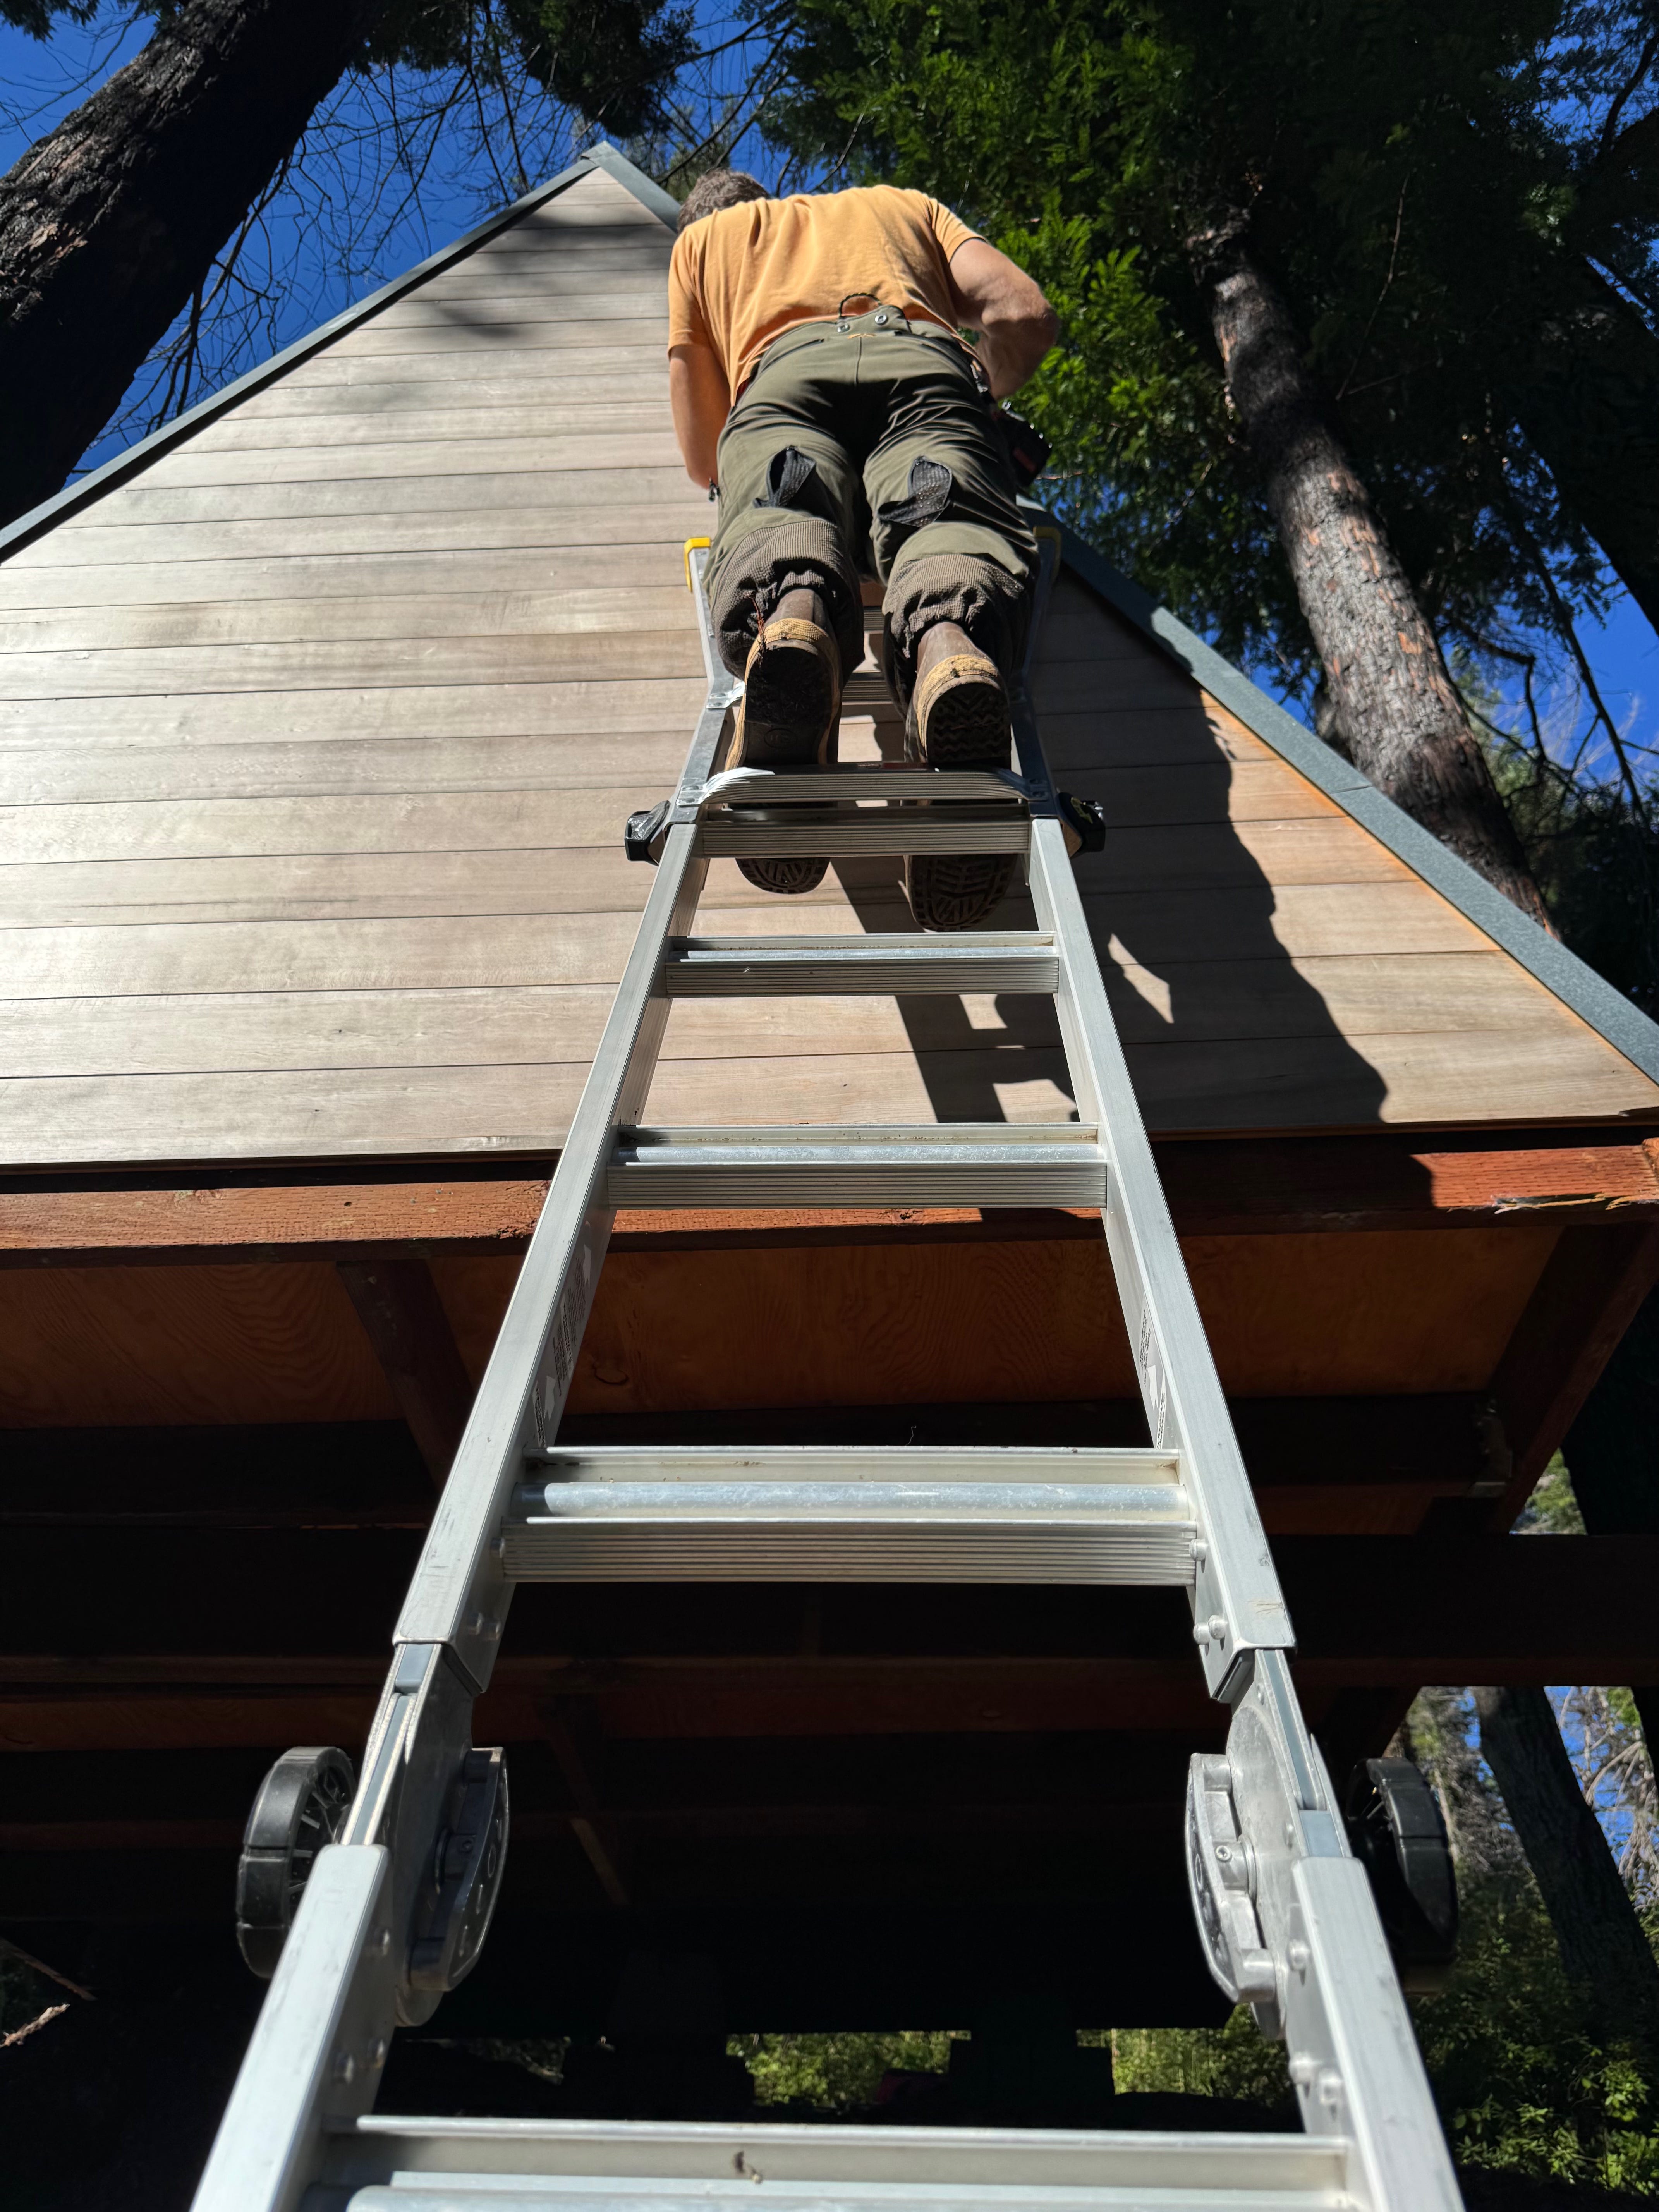
The single layer of siding has seen the most change. With no eaves, and no paint or oil, the hemlock soaks up a lot of water. That water has worked through and stained the interior. Other than one winter where we stored some (eventually damp) sheets behind the headboard, this hasn’t really been an issue beyond aesthetics. The walls are not dripping and the wood dries out quickly. But, it does cause a lot of swelling and the tongue and groove siding (which was nailed only through the tongue) pulled off the wall in some areas. Joey and I had to climb up and drive some screws through the face to ensure the wall wasn’t going to peel off.
This swelling has really only been noticeable on the rear wall. I assume it’s because the large monolithic face sees large monolithic movement. The front wall is missing a door-sized section of siding, which presumably helps.
Speaking of the door, it still fine well, so there is that. And the plywood subfloor is in good shape. All told—some unsightly poly panels and water stains aside—the A-frame has been serving us well and has housed many, many friends.
If I had to do it all over again I would add horizontal strapping under the polycarbonate, every two feet or so. And if I was committed to this single layer of siding with no eaves, I’d oil or paint the exterior of it.
But more likely I would just build the meager front and back walls the way a wall should be built—plywood sheathing and a weather-resistant barrier with siding over it. For sheathing I could use the same grade of plywood that’s seen under roofing and leave it visible. But I would probably prefer to spend the money on some wood and clad over the studs of the front and rear wall interiors, which would look cleaner, cost little, and cover any water stains that may sneak through.
In fact, Molly and I were going to remove the bed to set up the A-frame as a studio for our upcoming artist residency, and that would be an excellent time to panel the walls and hide our sins...
Takeaways
Look, an experienced builder might throw some shade on these haphazard approaches and some of the obvious ways in which they fell short. It’s not the right way. And sure, they’d have a point. But there are plenty of concessions that are acceptable on a case-by-case basis, and tons of ways to build that aren’t considered right by local practices. Japanese floor joists are a fraction the size of western joists and I rarely hear about the Japanese falling through floors.
The wildfire burned us and I make no apologies for such an apt pun. We simply had no interest in pouring a lot of money and time and emotional investment into a hundred year building that may well last only a few seasons until the next fire came through. Post-blaze we took the route that felt comfortable for our goals and that path successfully provided us the wins of rad times with friends and some (relatively) sound structures.
Importantly, it also provided data points on exactly what happens when certain corners are cut. I put a lot of value in that hands-on familiarity. It’s an intimate knowledge that’s earned through experience and time, and it’s the only way I can know for certain there are shortcuts I’d take again—depending on the particular project and my needs—and ones I wouldn’t. That’s the value of experiments. And the marginal upside of a fire-born attitude of fuck it, let’s cut some corners and see just how we feel about water stains.
DIRECT TO YOUR INBOX
NEW TO THE NEWSLETTER? TO BUILDING?
Start with these posts on Project Planning and Construction Basics.
Or these posts on Community Building.
Or browse. Posts wander from friendship, to workshops, to tools, to explosives. Because we contain multitudes.